
Have you ever dreamt of a beautiful custom island?
Do you fear it is too big a challenge to tackle?
What if I could tell you it is easier than you could imagine.
Now:
Our current project, the Beige Bungalow has a nearly complete kitchen (about 99% complete). Therefore, I figured it was a good time to chat about how we went about designing and finishing the island.
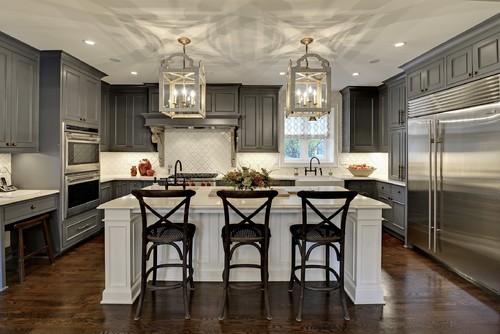
If you remember our second kitchen post, we highlighted a few of the photos that provided inspiration for designing our own custom kitchen island. The goal was to create an island with a custom high end look like the ones below:
In order to do to achieve this look we started out with a simple 2×4″ framed structure (shown below). Framing the island the way we did allowed us to nest cabinets in the side facing the kitchen while leaving the back side open for seating. It doesn’t look like much at this point, but this was the foundation to our finished island.

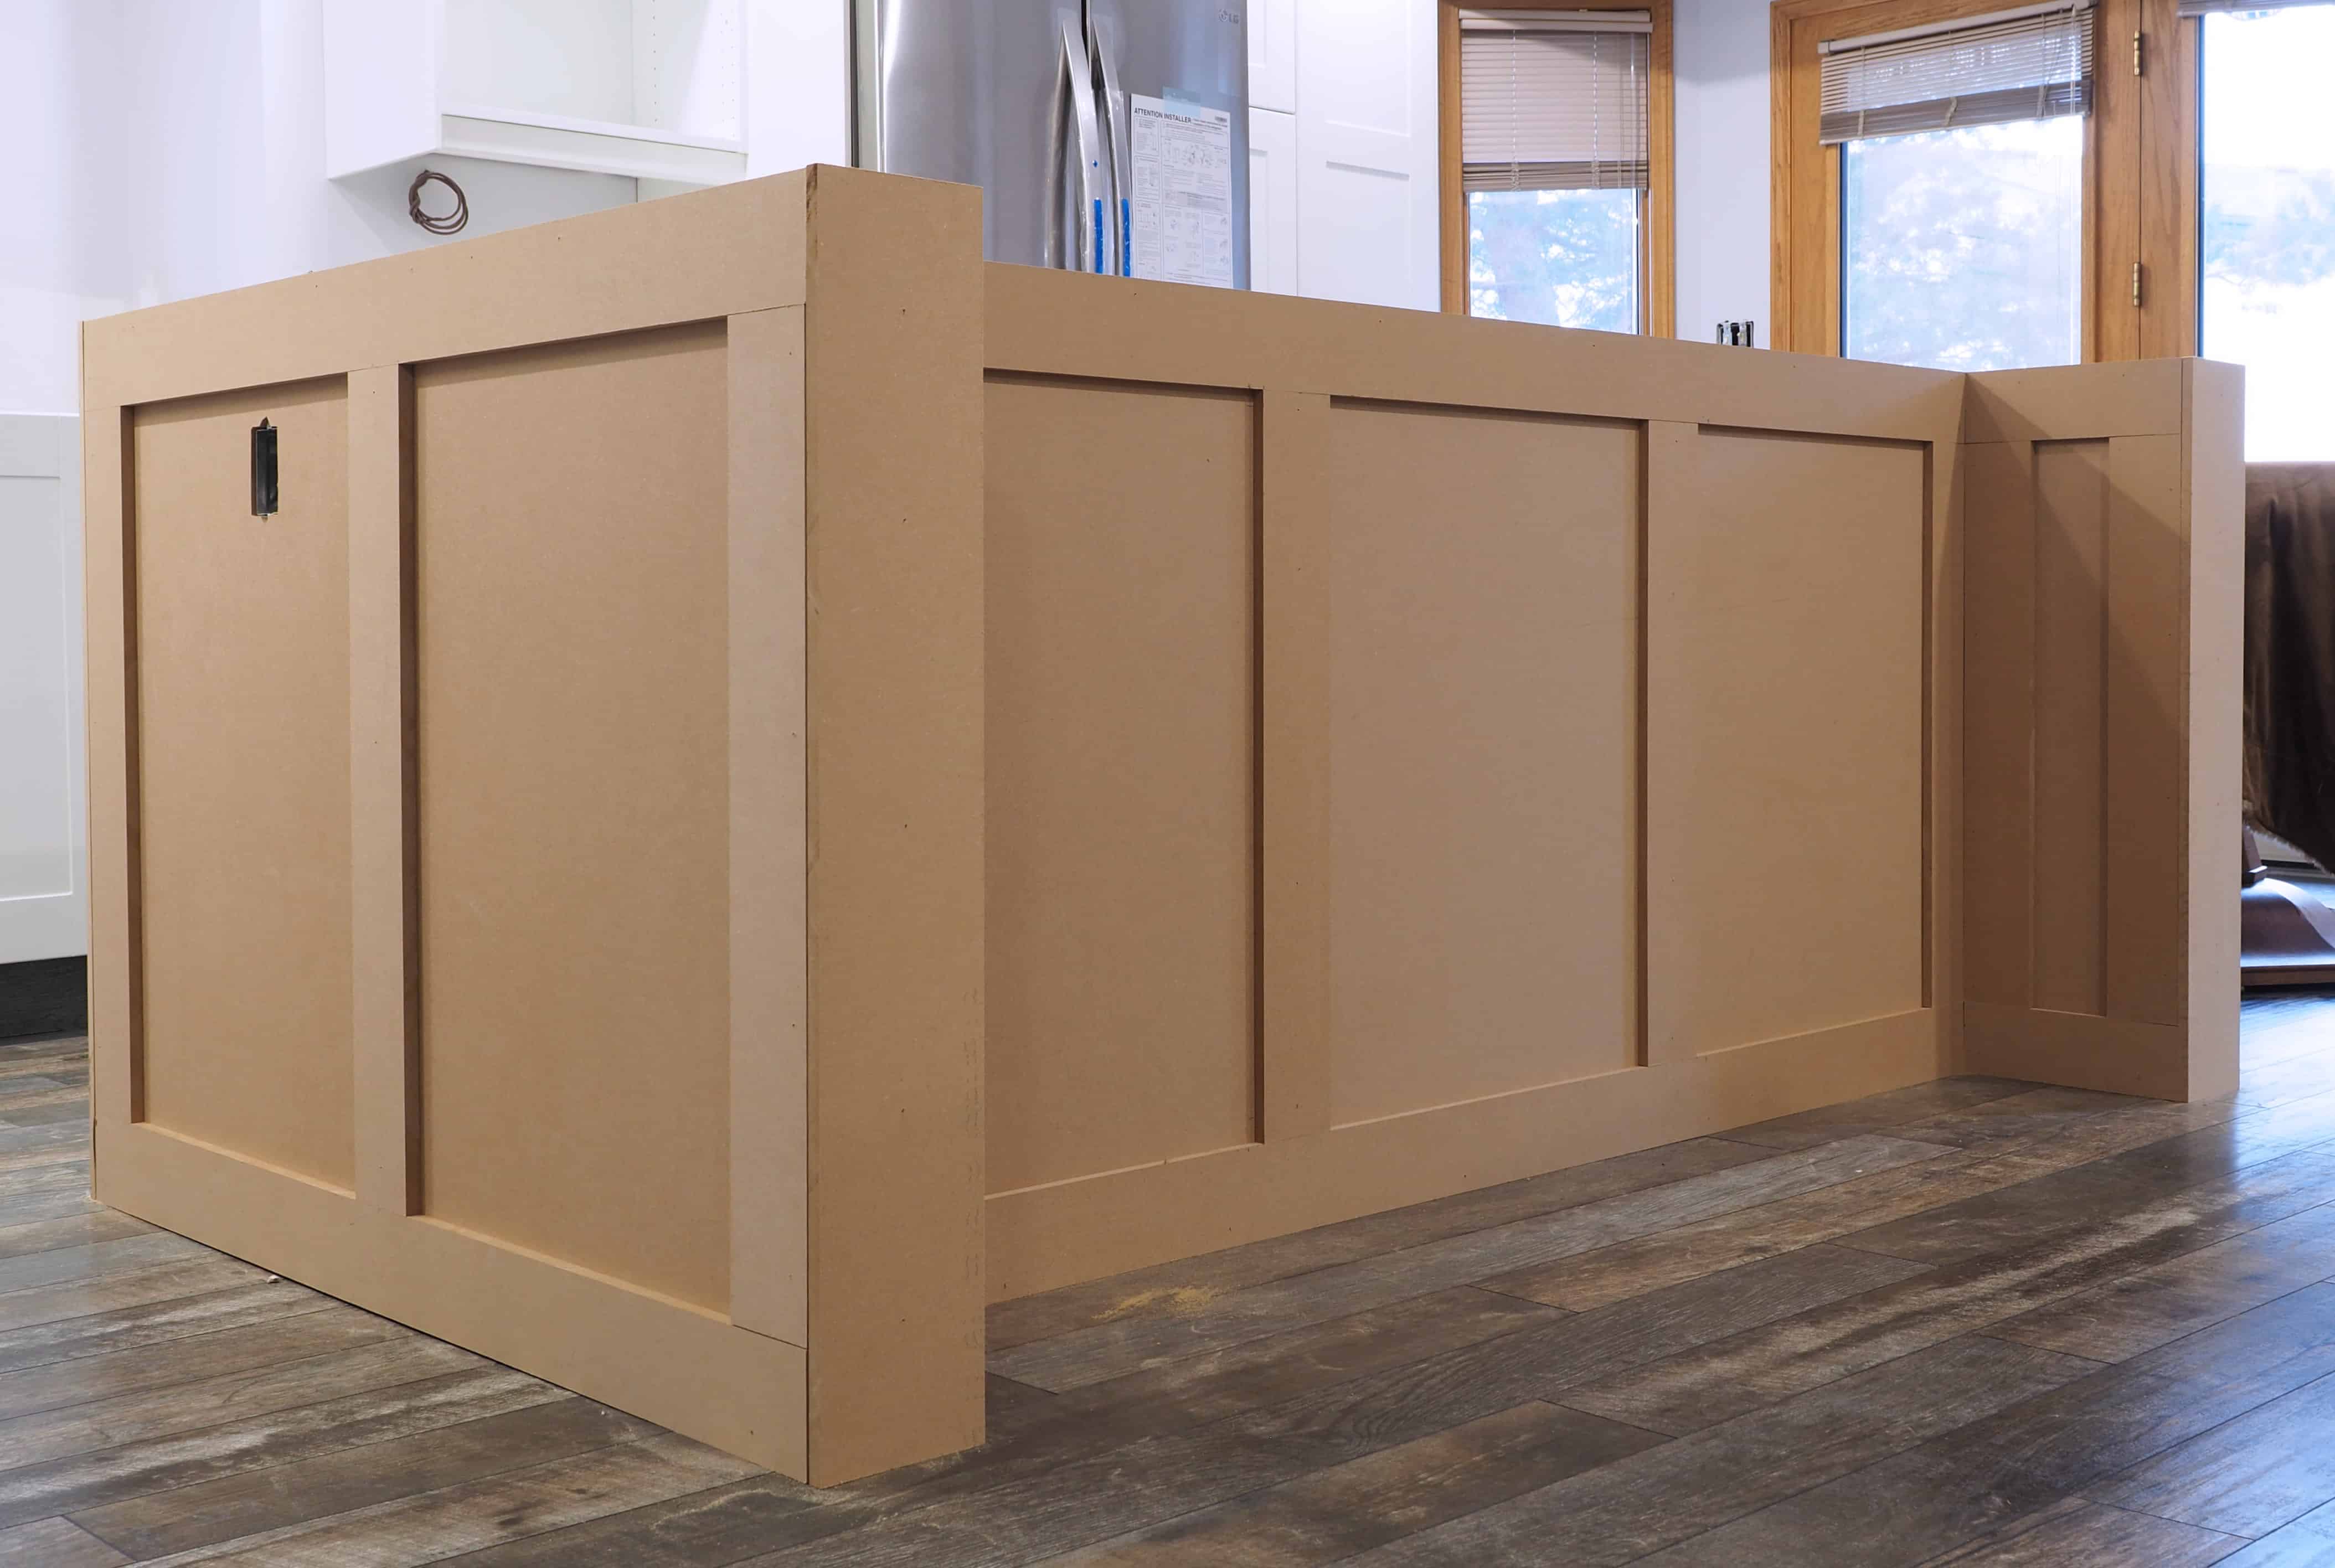
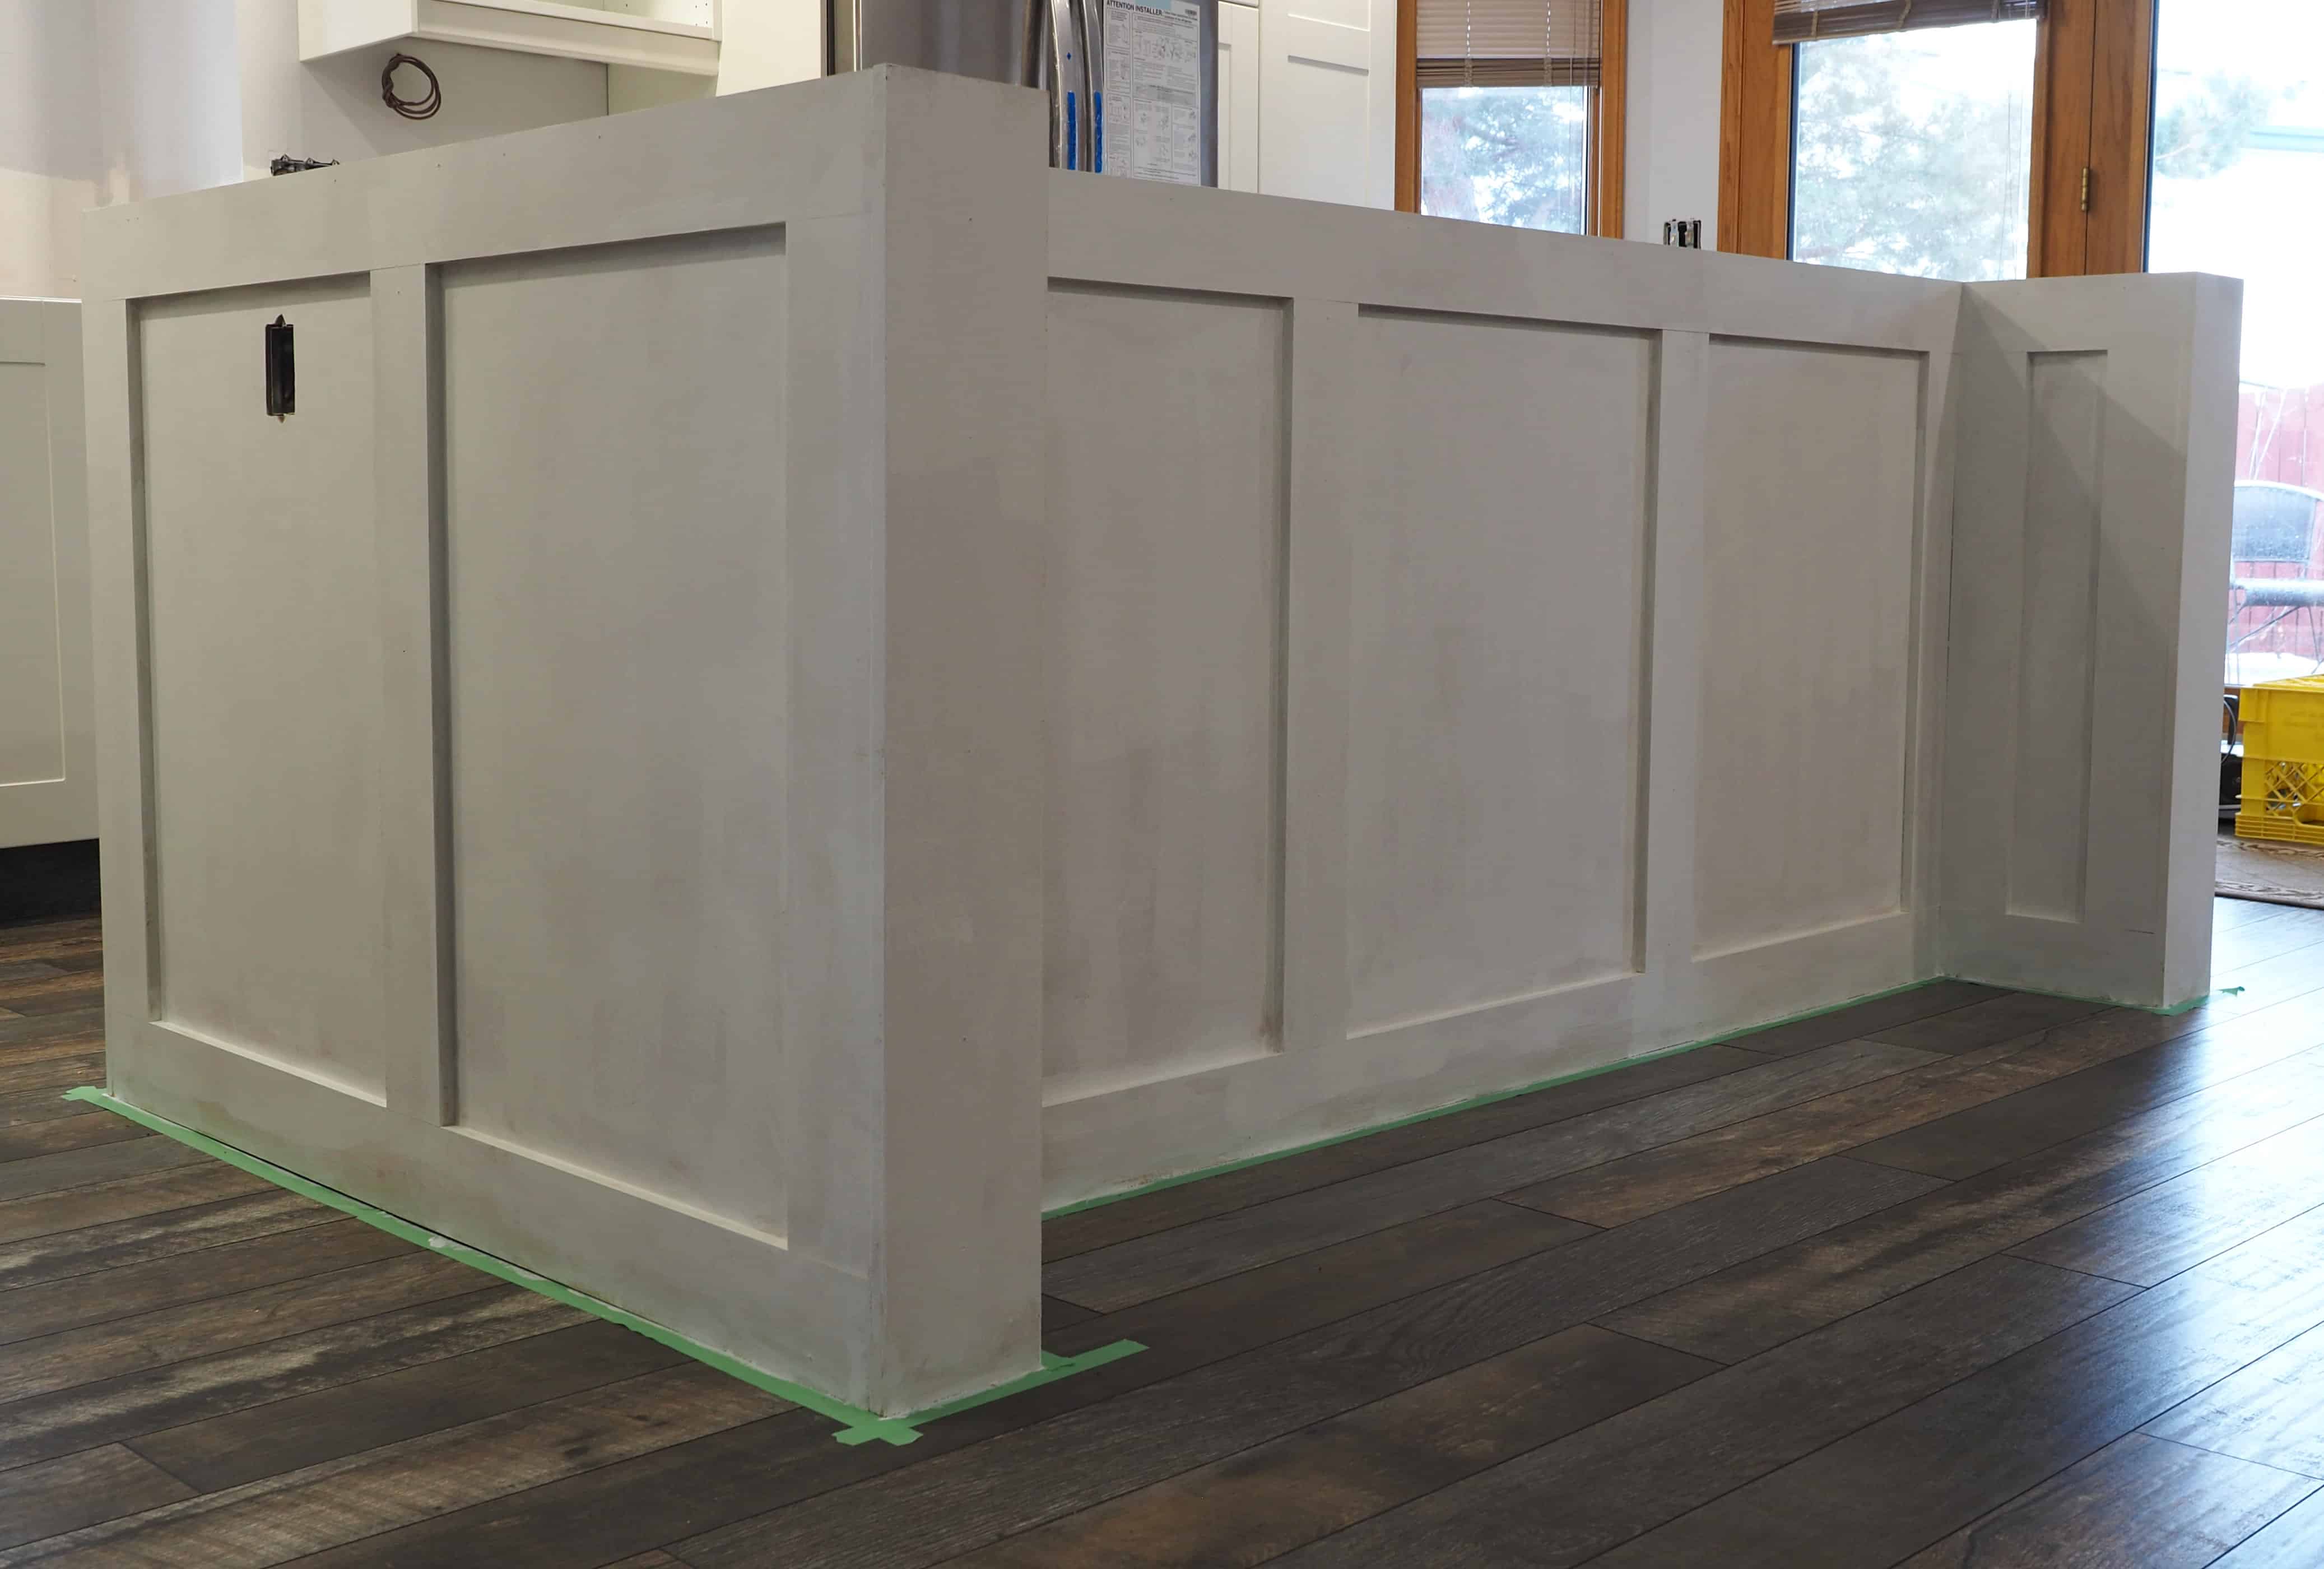
Next we covered the sides with 1/2″ MDF before beginning the trim work. This is where the extra time spent leveling and squaring the island during framing made all the difference. Once all of the sides where covered, it was onto trim work. We mentioned in the first kitchen post about using shaker style cabinet doors throughout our kitchen design, and we wanted this trend to continue on the island. To do this we opted for a simple 3.5″ wide trim piece along the top and bottom (acting as a baseboard), as well as a vertical piece every 24″. This gave us symmetrical squares on the ends and sitting area of the island.
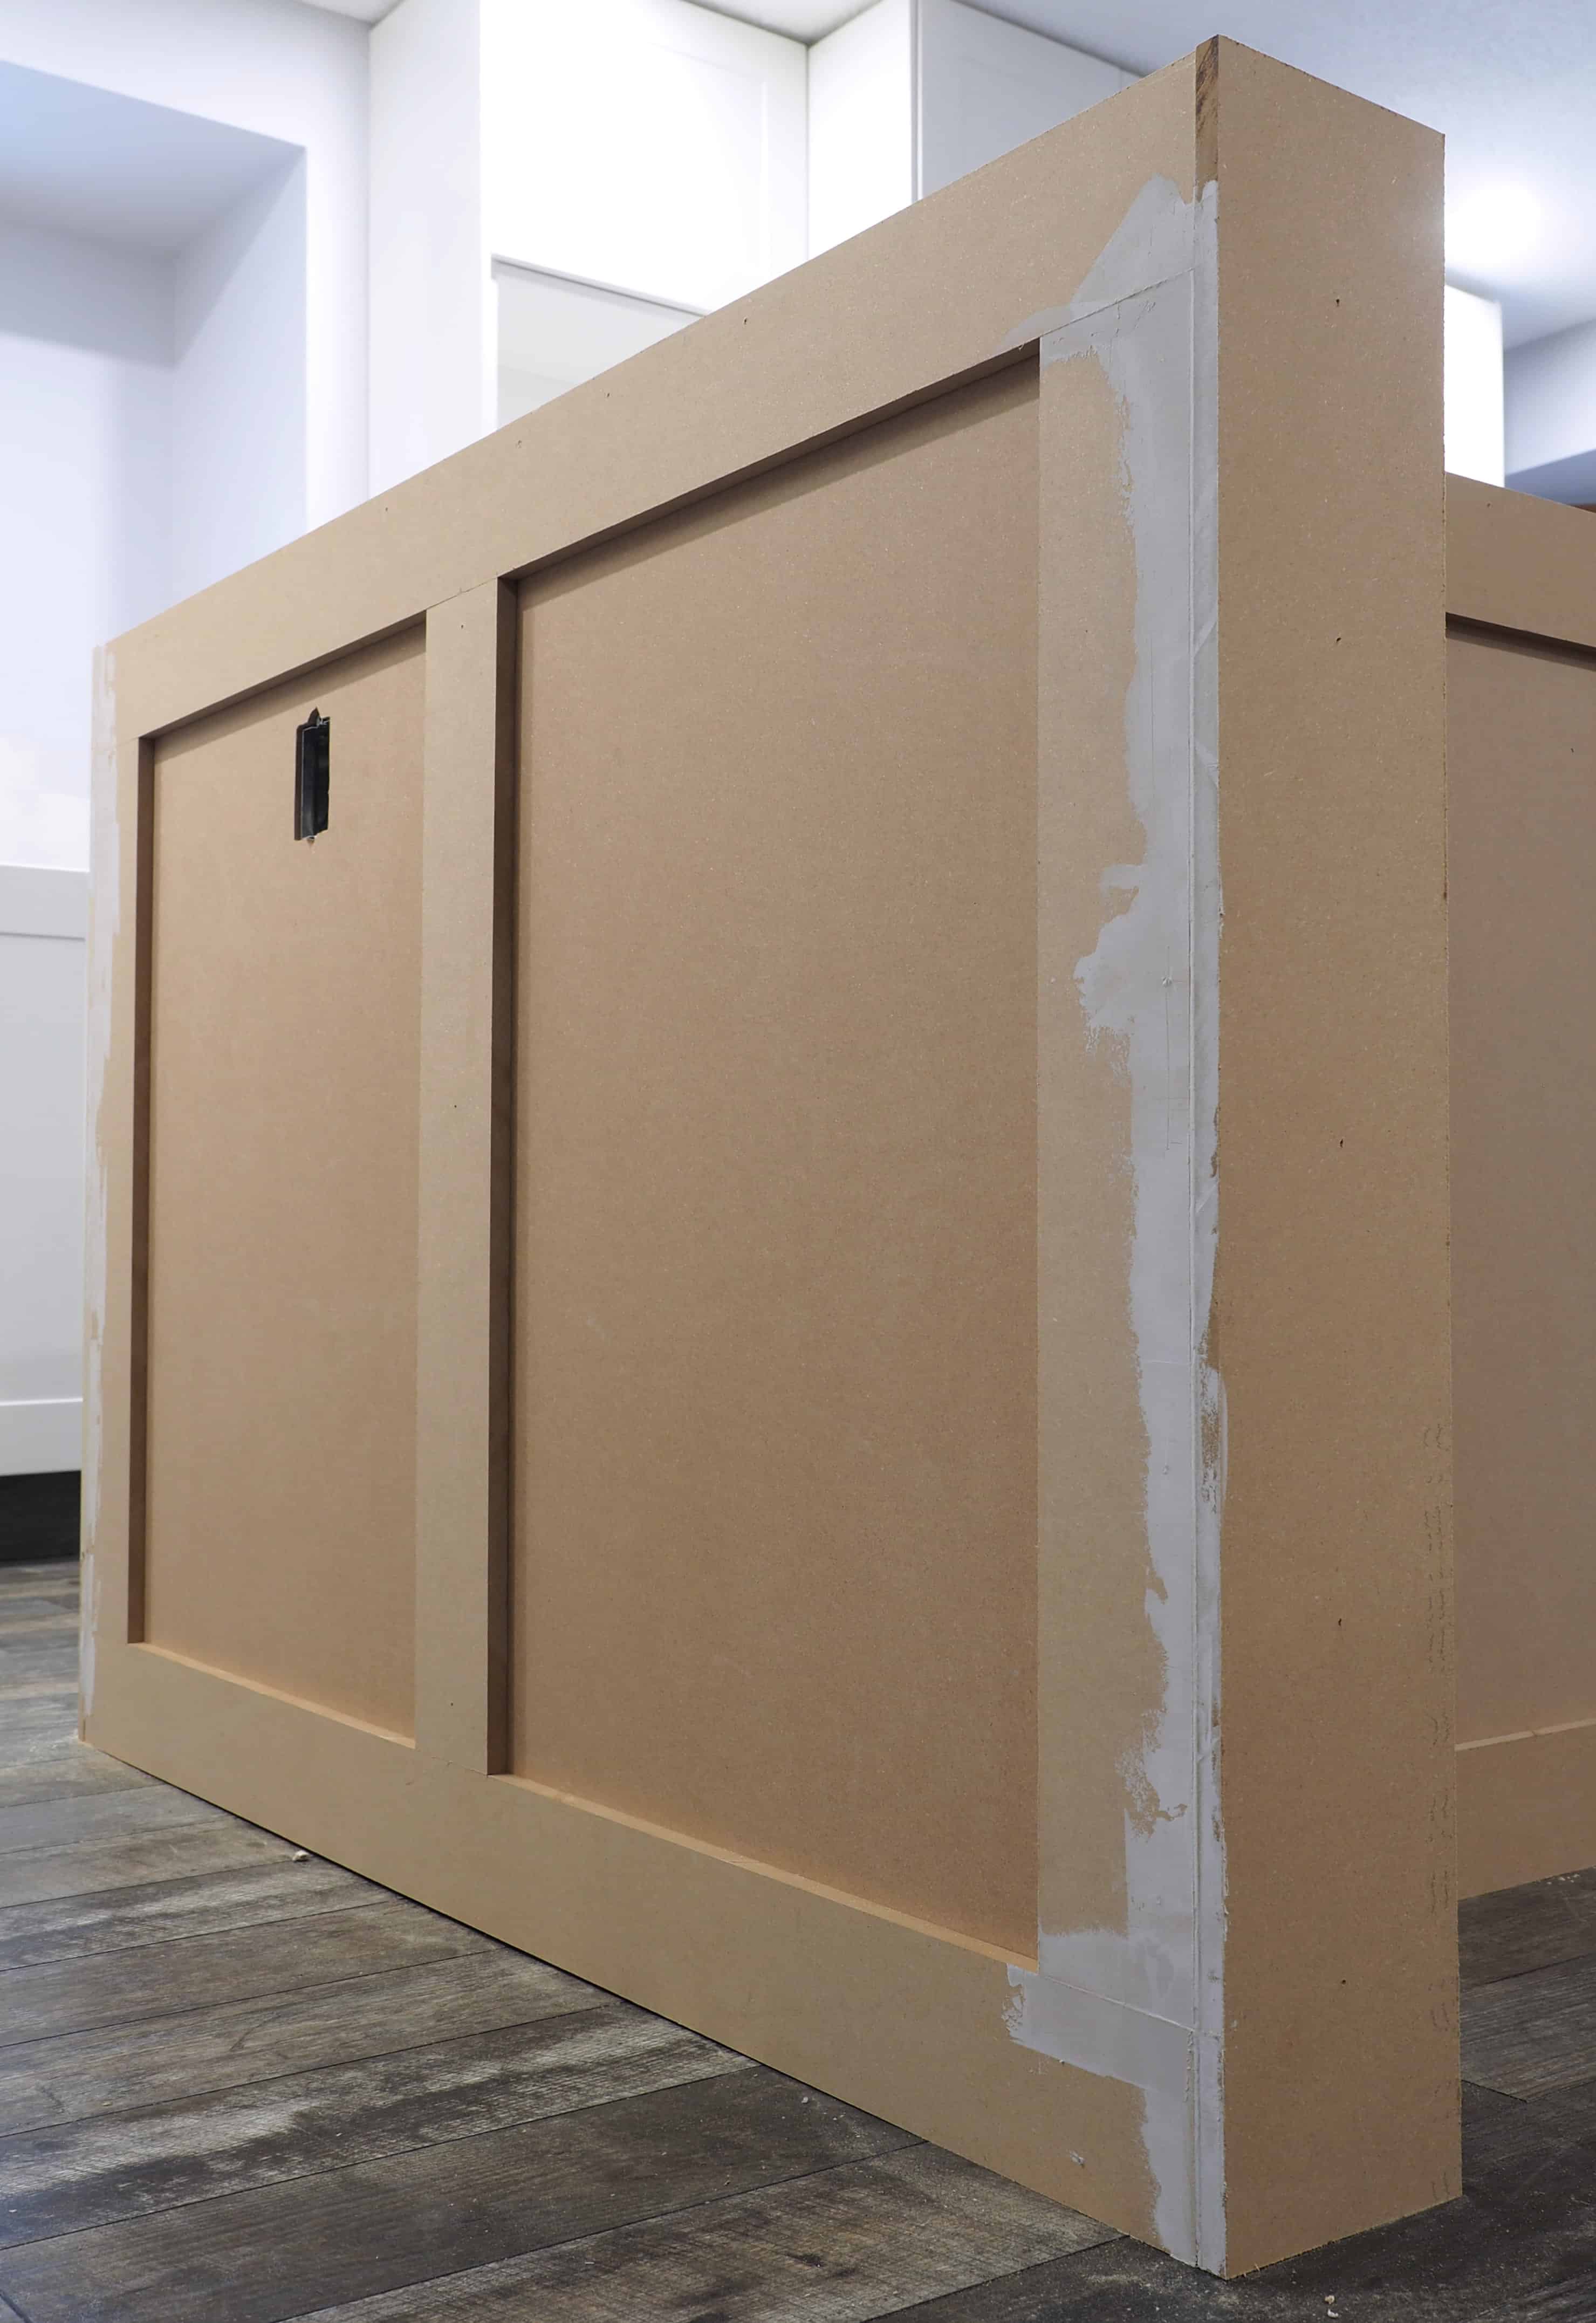
Naturally there is always some joints that do not form perfect tight seams. In order to clean it up before painting we used drywall putty to fill the thin gaps between the trim pieces and end caps. Once it dries, a quick sand is all that’s needed before moving onto painting.
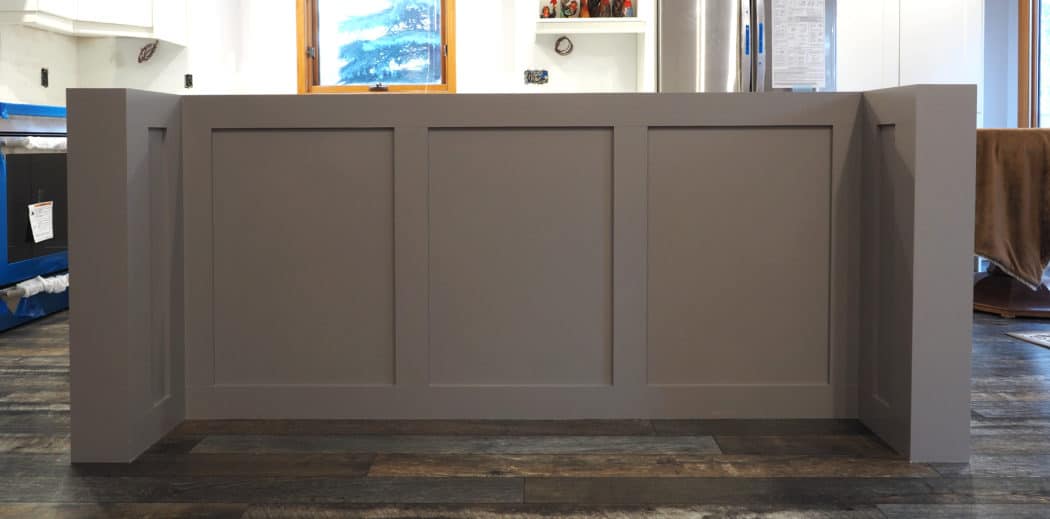
Because we were dealing with plain MDF it needed priming before painting. I like to use a higher quality primer on projects like these (we used Zinnser Bulls Eye 1-2-3) because it makes painting later on all that much easier. Once the island was primed we could finally see the finished look starting to come through.
Of course the final step was to paint. We had the colour picked out long ago- Benjamin Moore Escarpment (CC-518). It also gave us a two-tone look to the kitchen which was part of the initial design plan. In many ways, Escarpment is a perfect unifying colour that immediately creates a feeling of warmth and comfort. Maybe it’s because the paint chip reminds me of a hot cup of hot chocolate…mmmm.

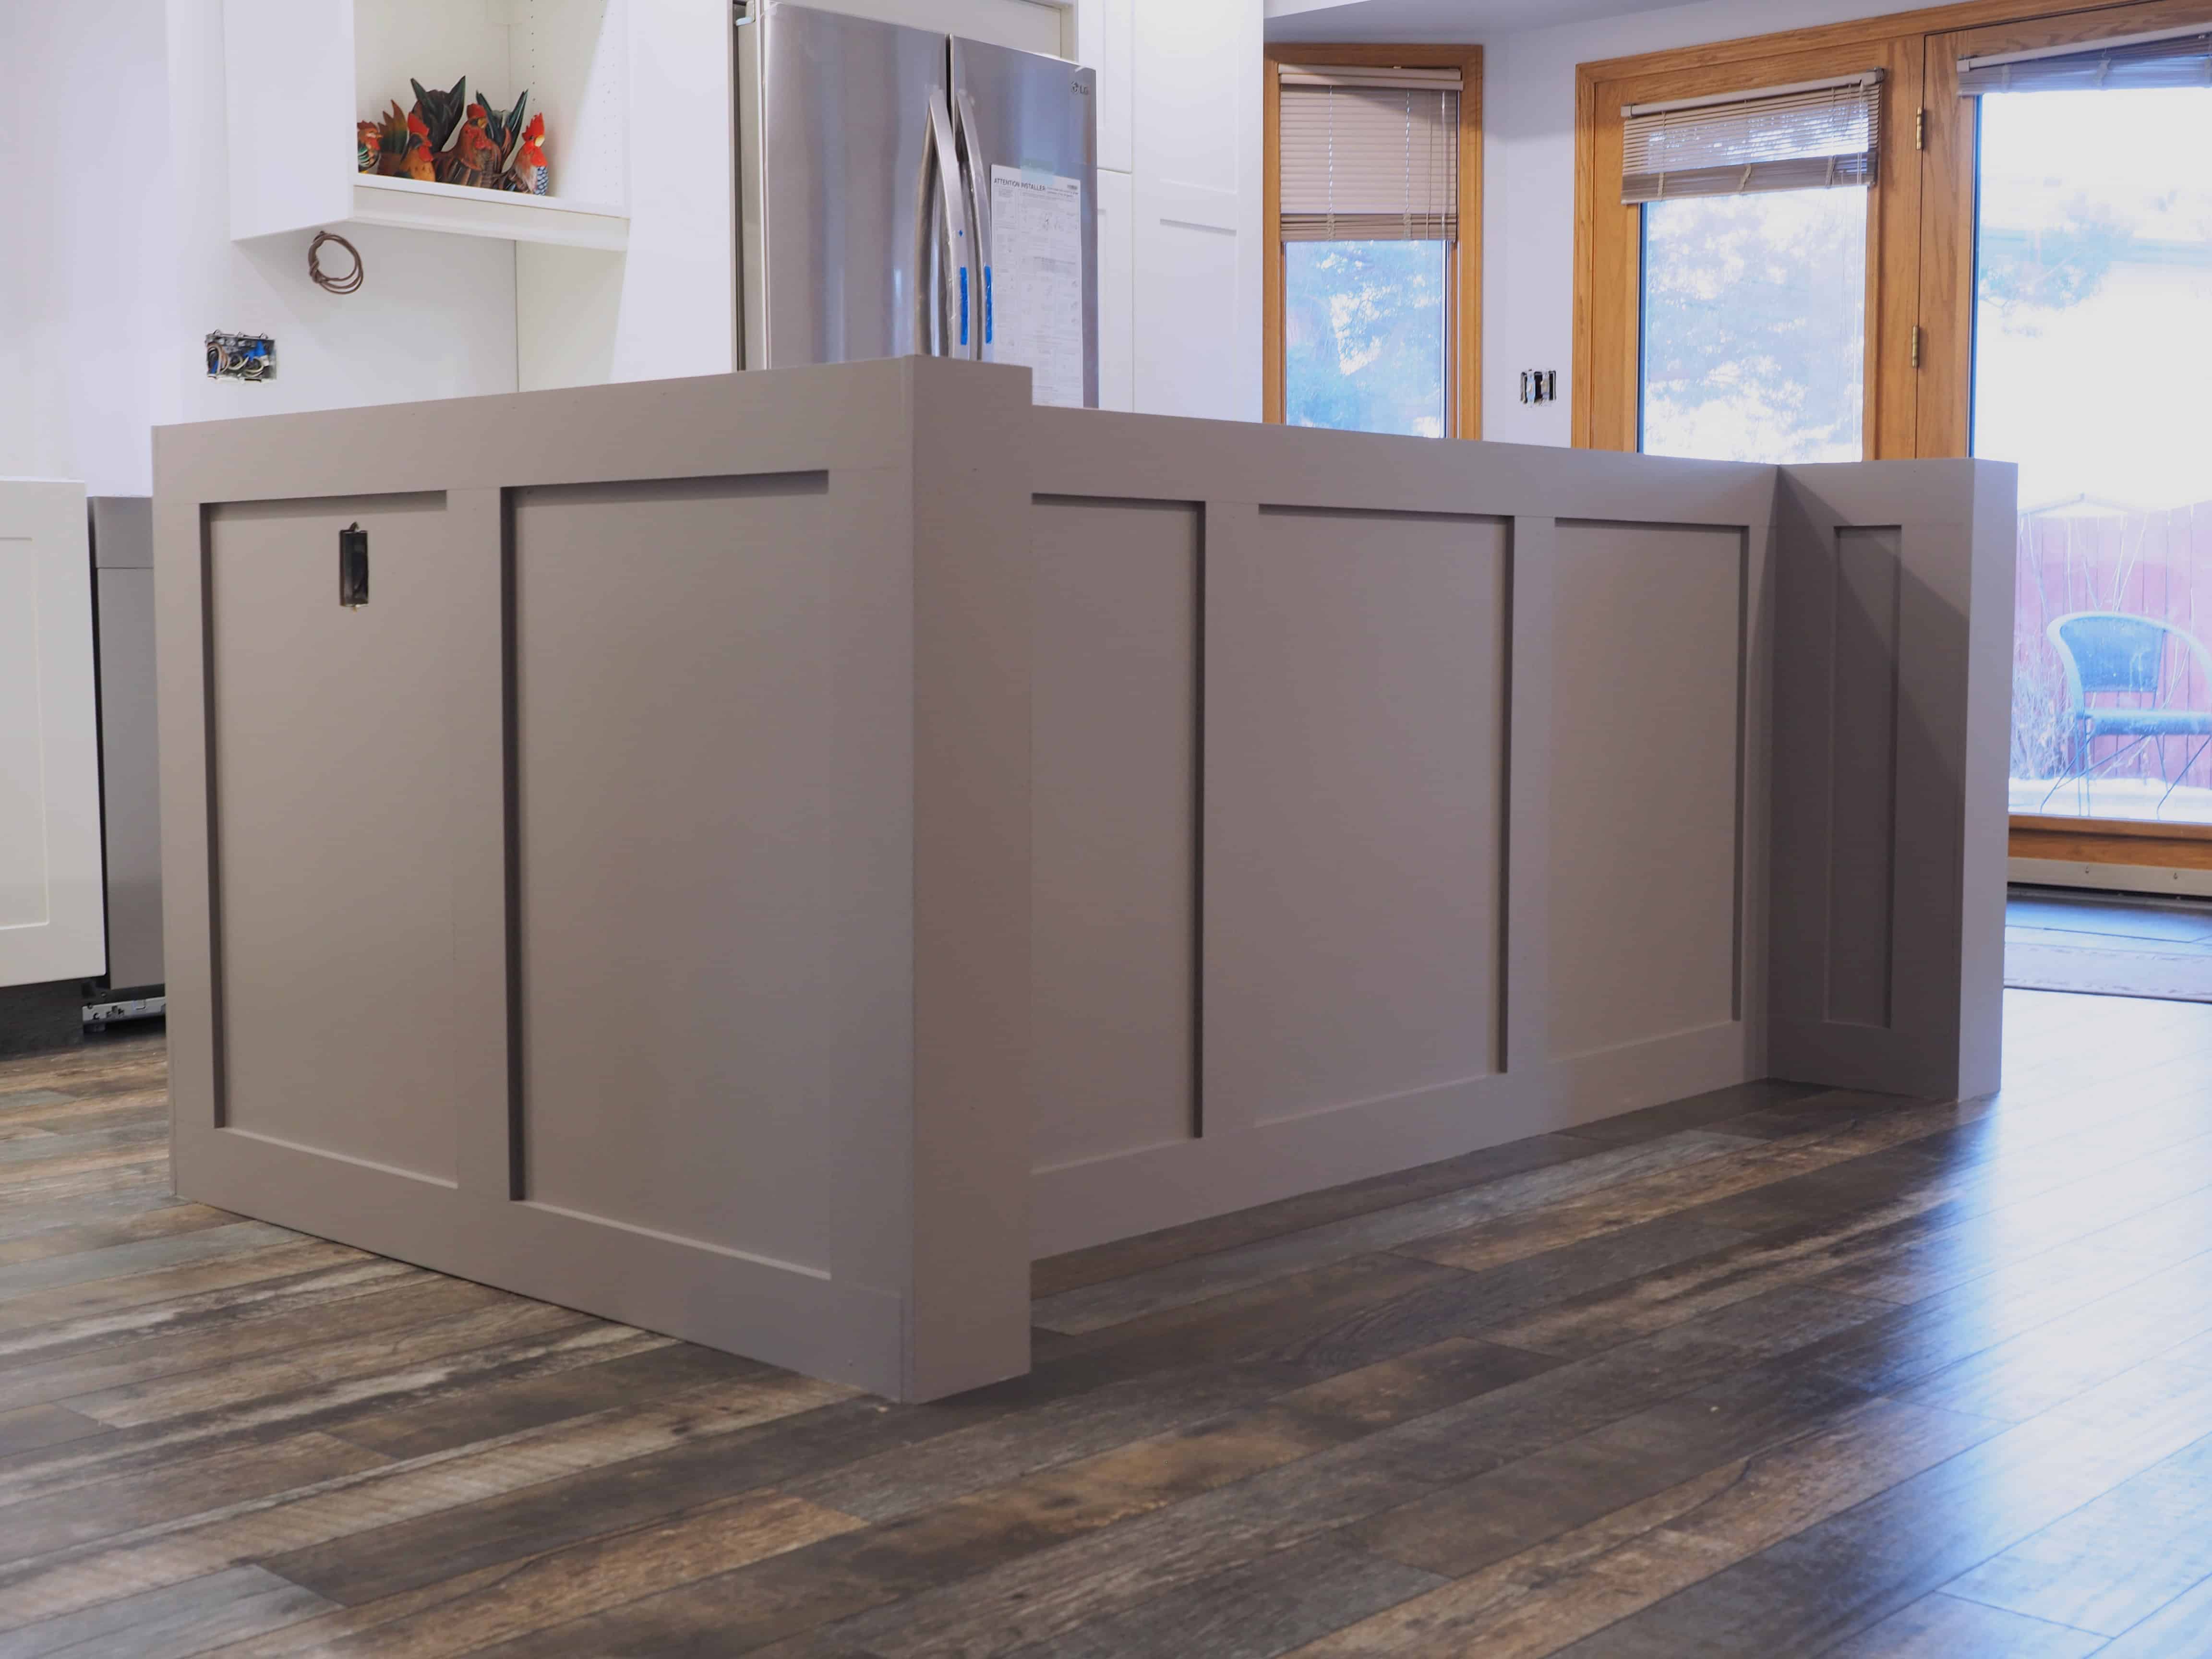
I am extremely proud of how the island turned out. It is definitely some of my best finishing work (considering I’m not a finishing carpenter).
Well we loved the Escarpment browny-grey on the island so much that we decided to paint the back wall (behind the new gas fireplace) and the nook surrounding the kitchen sink the same colour! Spoiler alert- it looks awesome!
Last but not least, a shameless plug to remind you to please join our community! We are growing faster than anticipated and I love hearing from you about your current projects and renovations.
What type of board did you use for the trim? We are currently building an island just like this!
Hi Jackie – to keep costs low, we used MDF for this project. However, we have also used wood (fir) for similar designs in the past. Best of luck!
Do you put the bottom piece flush/all the way touching the floor? Or do you have it slightly off the floor? I have hardwood flooring so I don’t know about damage moisture, etc. Thank you.
Any chance you have any pictures of this from the front?