
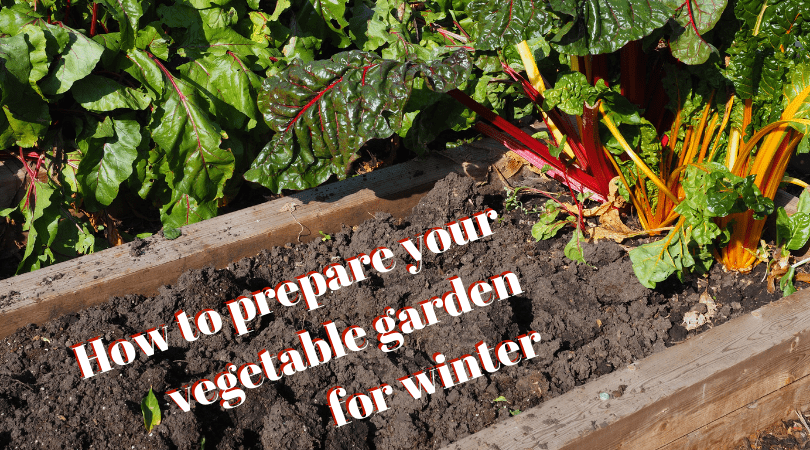
Every year fall sneaks up on us and before you know it, it’s time to prepare the garden for winter. We winterize everything else in our lives, from our cars, to boats, to homes, thus is seems only natural that we also prepare our garden for winter.
Many of us live in gardening zones that receive frost, freezing temperatures, or even snow.
So how do you prepare a garden for winter?
Unfortunately (or at least at times it is…) I fall into the last group. In Edmonton, we typically receive 4-6 months of freezing temperatures and many inches of snow. But fear not, here’s a checklist to help you prepare your garden for winter. The time to start is before temperatures plummet and the snow starts to fly.
Before you read on, here is our video to help you prepare your vegetable garden for winter:
Know your gardening zone
The first key to successfully preparing your garden for winter is to know when “winter” actually starts to rear its ugly head. Start by researching your local garden zone. Not only will this information help you come fall time as you prepare your garden for winter, but it is also invaluable every spring when you are itching to get digging in the dirt again. You can find all of the planting zones for the U.S. and Canada at the Almanac. Once you know your zone, it will be easier to find the the average dates for the first frost in fall, and the last anticipated freeze in the spring.
The first few steps all pertain to preparing your vegetable garden for winter. I tend to start here every fall just to make sure I don’t get caught by an unexpected frost, thus leaving my last harvest out in the cold.
1) Harvest any remaining vegetables
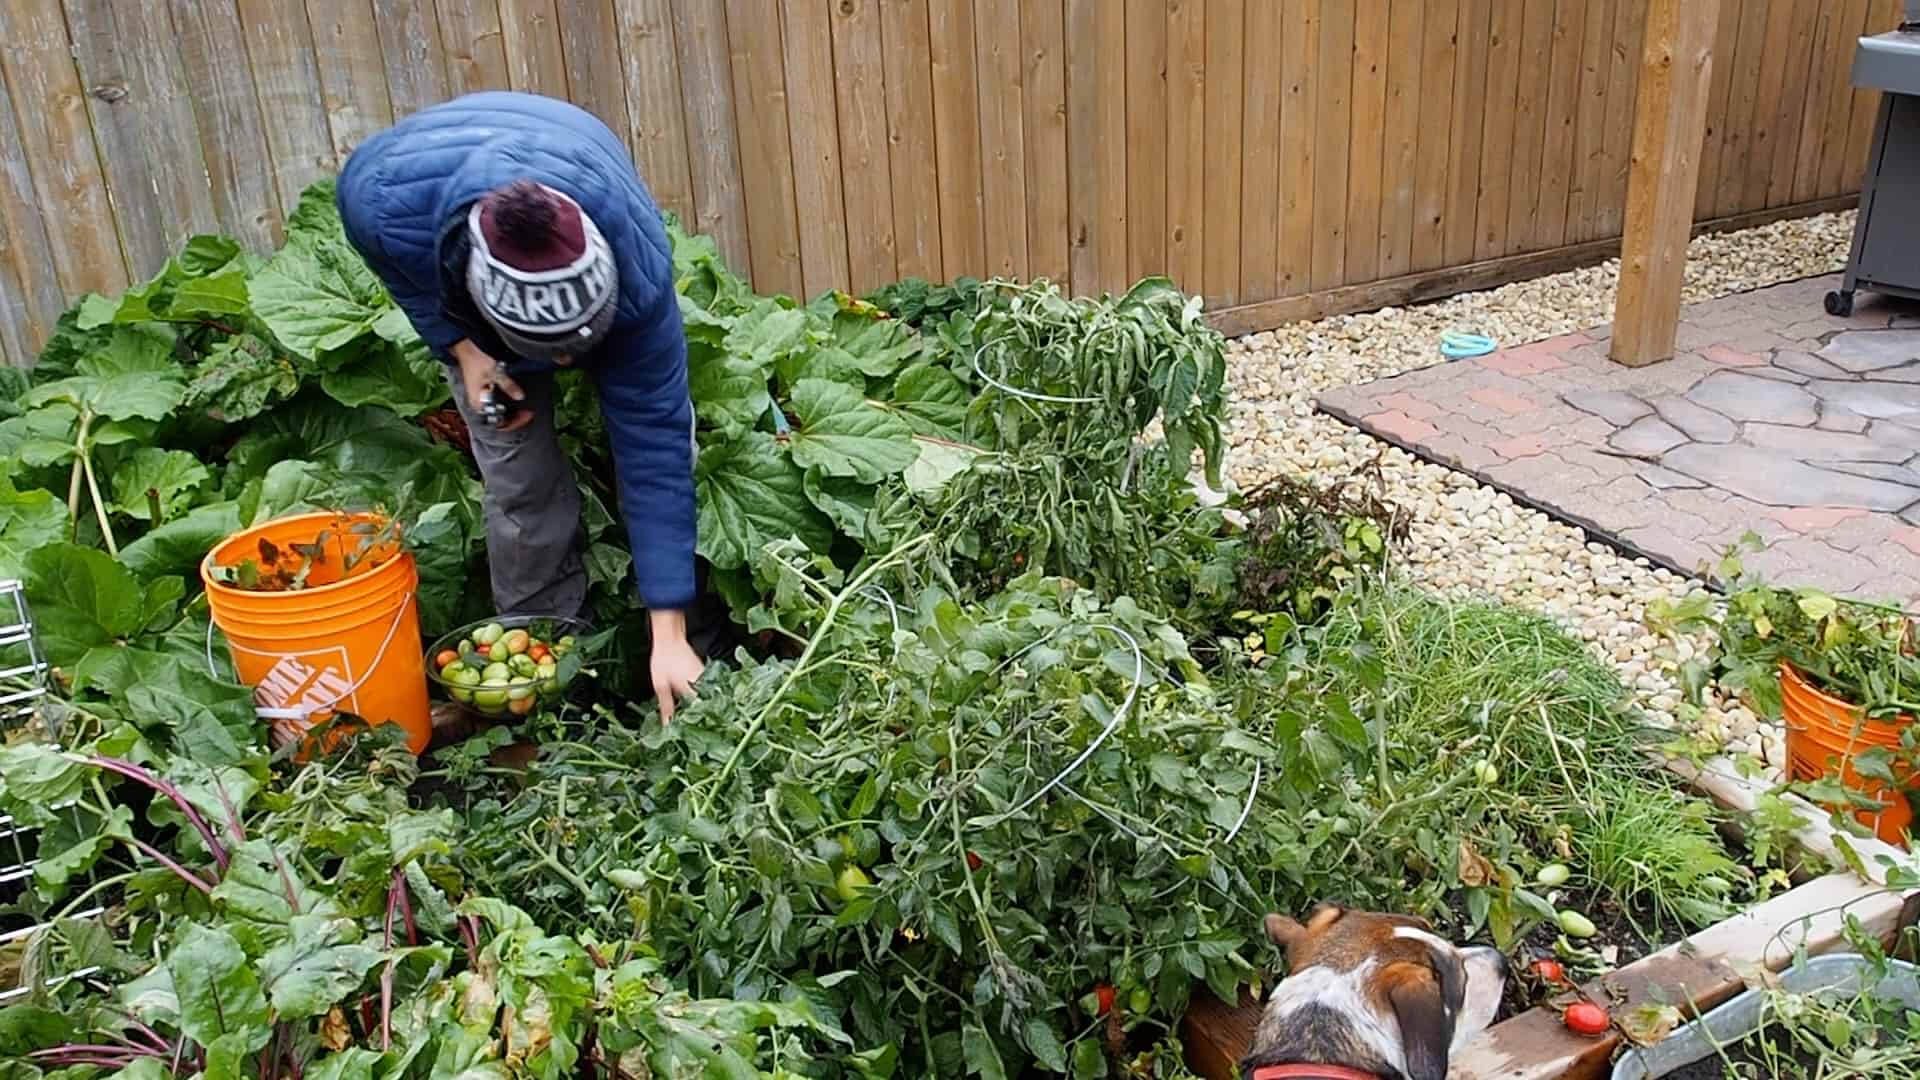
The vegetable garden is usually a mess by the end of the season when you start to prepare your garden for winter. This is part of the reason I love starting with this task; it’s easier to get the tougher task out of the way first. Take a final walk through your vegetable garden and harvest any remaining veggies that can’t take a frost:
- tomatoes
- peppers
- cucumbers
- corn
- eggplant
- beans
- okra
- watermelon (all melons)
- zucchini and squash
Starting here provides you with a nice bounty before you actually tackle the real work.
Go ahead and leave cold hardy veggies alone at this point. Believe it or not, the taste of some vegetables will actually improve with the colder weather.
Plants that will tolerate a light frost include:
- carrots
- beets
- lettuce
- cauliflower
- peas
- celery
- chard
Plants that will tolerate a hard frost include:
- radishes
- broccoli
- brussels sprouts
- cabbage
- kale
- onions
- spinach
- turnips
2) Winterize your vegetable garden beds
Remove dead and dying plants
Now it’s time to start tackling the real work. It may seem easy to just let the vegetable plants die back and clean up the remains in the springtime, however you are asking for more trouble in the long run. Dead and dying plants can harbor disease, pests, and fungi. Leaving your plants for springtime allows these unwanted pests a head start come spring, leading to headaches all summer long. So, pull out those plants! Plus they will make great green material for your compost pile.
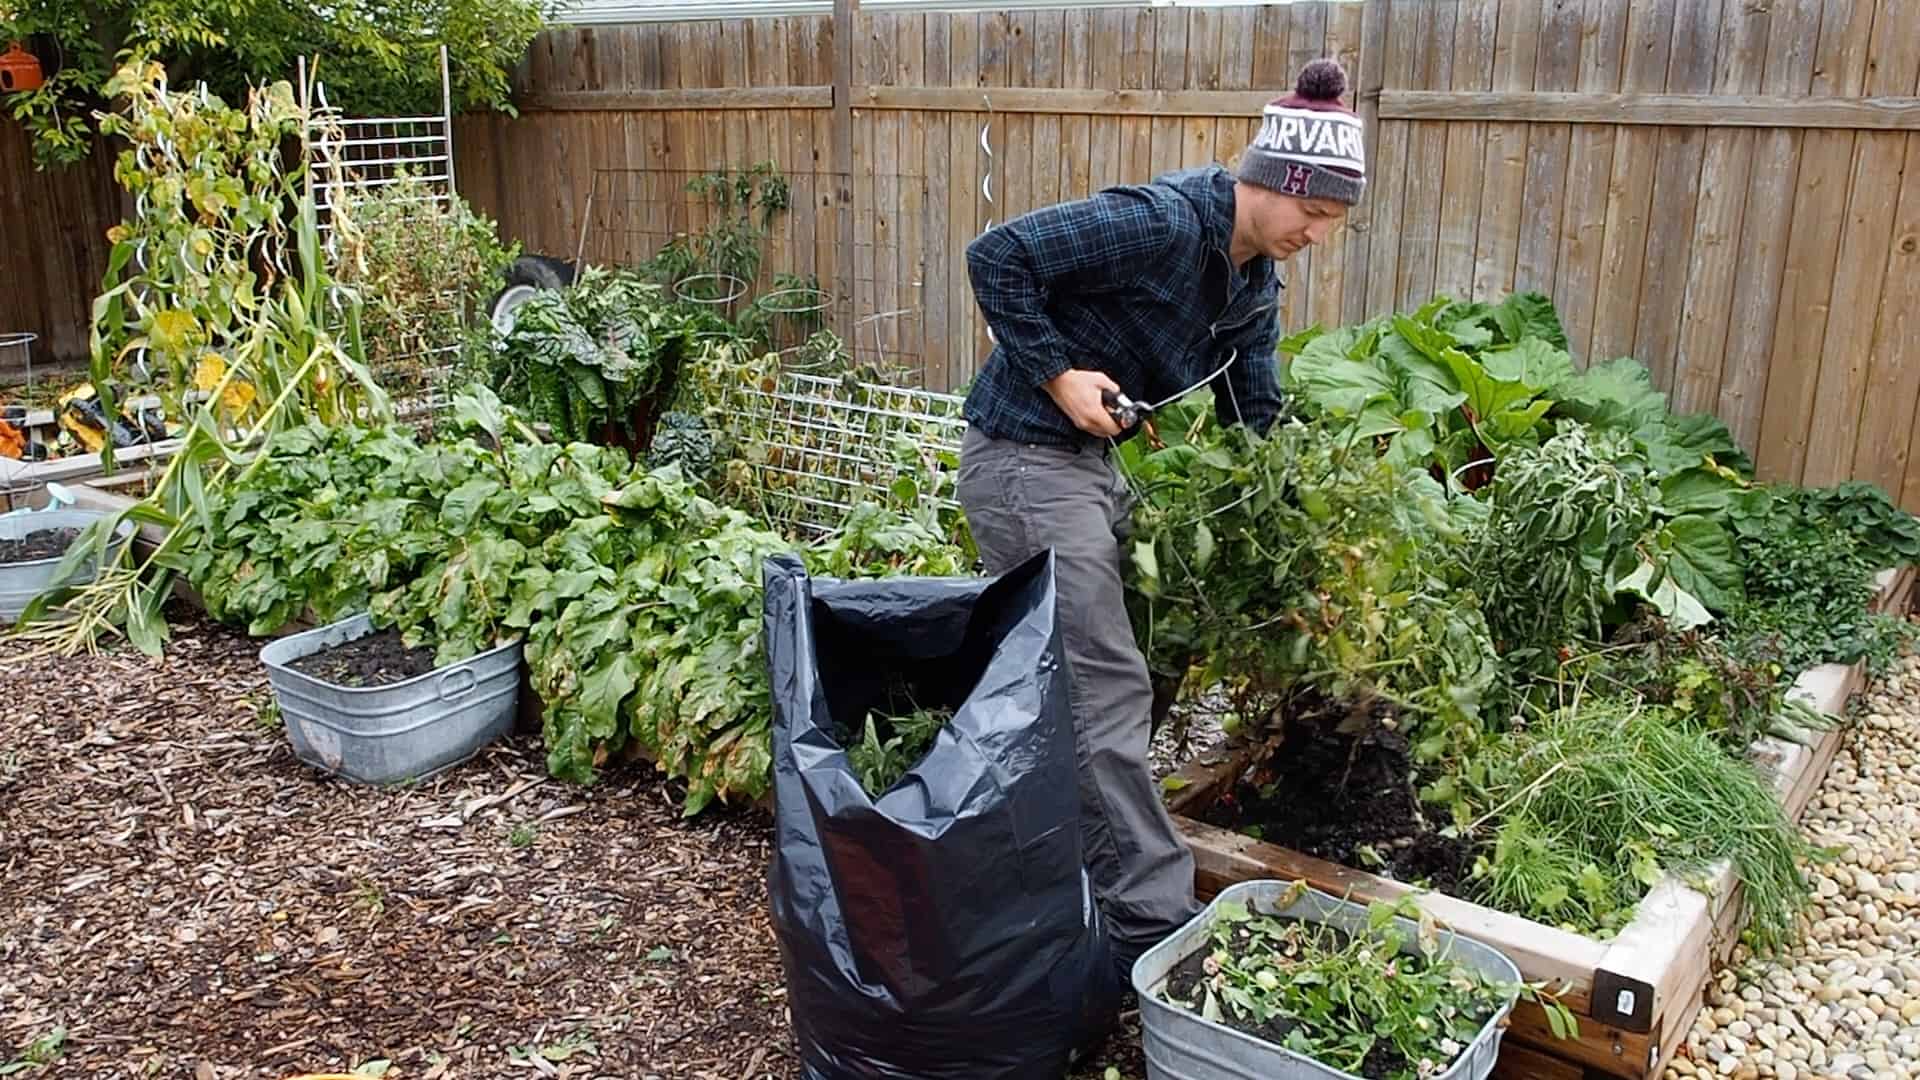
Don’t forget to pull any weeds you come across. However, don’t add those to your compost as the seeds will just wind up right back in your garden.
Tend to your soil
If you mulch any of your beds, push that aside and start by adding 1-2 inches of finished compost. Don’t worry if you don’t have any finished compost- you can also add this come spring a few weeks before you start planting. Fall is also a great time to add soil amendments like bone meal, kelp, and rock phosphate. In some climates with very acidic soils (like New England), you can even mix in lime to help neutralize your pH when you winterize your vegetable garden. Now is also the time to till the top 4-8 inches of your garden bed. BUT, there’s always a but- Keep your soil clumps larger when tilling. All you are looking to do is break up the crusty surface of the soil after the growing season. Tilling will help work in the compost, leave gaps for water penetration (vital come spring), and allow air to circulate and penetrate the soil, which benefits the bacteria and micro-organisms. You want to keep these little guys happy- in the end they are often the reason your garden looks so good mid-summer.
3) Plant cover crops and fall vegetables
In many climates, early fall is a great time to plant cover crops like rye or vetch. These crops can help break up compacted areas, prevent weed growth, and increase the level of natural organic matter in beds. A general guideline is to plant cover crops roughly 1 month before your first killing frost. Then come spring, just turn the cover crop into the soil. To be honest, this is not something I have ever done. Because our growing season is so short, I am often harvesting the last of our veggies just days or at most a week before the first killing frost. I don’t have the luxury of an extra month to grow a cover crop.
Fall is also the time to plant your garlic. Pick any garden bed that didn’t grow alliums this year. Work in your compost along with your garlic. Plant your bulbs roughly 6 inches apart and 4 inches deep, and cover with a light layer of mulch. Once the ground freezes and the plants are dormant, go ahead and add a thicker layer of mulch.
4) Expand your beds before you prepare your garden for winter
If you spent all summer thinking about how you want more garden space, now is the time to do it. Build a few more raised beds in the fall to save yourself from having an extra task in the spring. The bonus- most garden centers have bagged soil and compost on sale in the fall.
Okay you have prepared your vegetable garden for winter, now it’s time to tackle the rest of your gardens- that being perennial and annual beds.
1) Chop, clip, and cut
Tidy up the garden by removing any spent stalks and other plant debris that could potentially harbor pests and diseases. Just like your vegetable garden, you want to minimize the amount of dead plant material as you winterize your garden. Removing your dead foliage gives your garden a more manicured look throughout the winter and frees you from extra spring cleaning. Lets be honest, would you rather be cleaning last years dead plants or adding new plants to your garden come spring time?
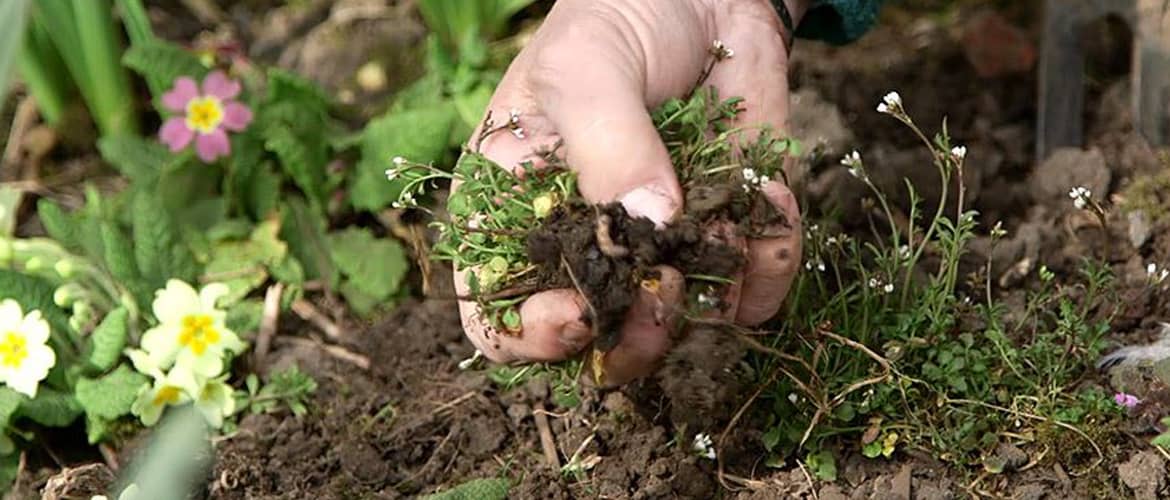
2) Weed, weed, and weed some more
Fall is the best time to remove any invasive or unwanted plants. Once again skip the compost and bag these for the garbage. Take special care with any invasive species, and try not to disturb their seed heads.
3) Divide perennials
This one is a little tricky and a bit out of place in the timeline. You actually want to tackle your perennials about 4-6 weeks before the ground freezes. This will give any transplants time to establish themselves. As you prepare your garden for winter, share your divided perennials with other gardeners. They will often do the same with you, and this is a great way to get new plants without having to spend money at the nursery. We went ahead and transplanted two of our rhubarb plants. We kept one for ourselves, and donated one to a friend.
How do you know when to divide perennials?
The best candidates are those that don’t flower as vigorously as they once did, those that have bare spots in the middle, and those that are pushing up against other plants. Take an active approach when dividing your perennials and do it when the plant is healthy and looks good.
4) Dig out your bulbs
Dig up and store any tender bulbs that won’t withstand the harsh winter. Dry them out in the sun, then on newspaper for several weeks before storing. Store in a cool, dry, and dark location. It is a good idea to research your specific planting/gardening zone to understand which bulbs need to be removed, and which bulbs are capable of surviving the winter.
5) Prepare any overwintering perennials, especially evergreens
Deep soaks are most important come fall time. This is especially important if it has been a dry autumn. Evergreens are susceptible to winter burn because they release moisture through their leaves year-round. Come spring time they need as much moisture as possible. As you prepare your garden for winter, think about turning the root system of your perennials (especially evergreens) into one giant underground popsicle. Not only will this ice ball protect the root system all winter, it is also a great source of moisture as the ground thaws in the spring.
6) Winterize your garden water features
The number one rule is don’t let the pump freeze! No matter where you are, I suggest removing your pond pump in the winter. The sole exception would be if you require it to continually move water under the ice because your pond includes fish or specific plants. It is best to talk to a local expert about the best practice for your water feature.
7) Clean up and sharpen your tools
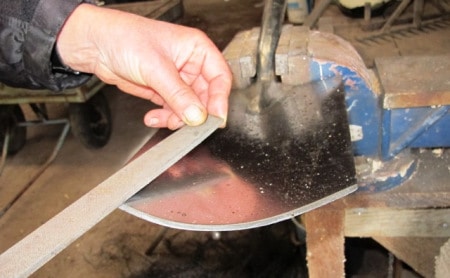
No one wants to start the next growing season with dirty and dull tools. Just like you prepare your garden for winter, your tools have worked hard all summer and deserve some love too. Begin by cleaning off any hard dirt and debris. Grab a wire brush or steel wool and get rid of any rust that may have developed. Use a basic file to sharpen spades, shovels, and hoes. And don’t forget about cleaning up and sharpening your hori hori knife before it’s stored for the season. A whetstone works well for this, as well as all of your pruners. Last but not least, rub the surfaces of your tools in a light layer of machine oil. This will help seal the metal from oxygen, extending the life of your garden tools.
No Comments