
It’s been a busy few days at the Beige bungalow and it’s time for an update. We tore down the wall between the kitchen and living room and have been hard at work finishing the main/guest bathroom. I’ve also decided to go a bit crazy and tackle a DIY I’ve never attempted before- I’m going to complete a ceiling repair on the popcorn ceiling.
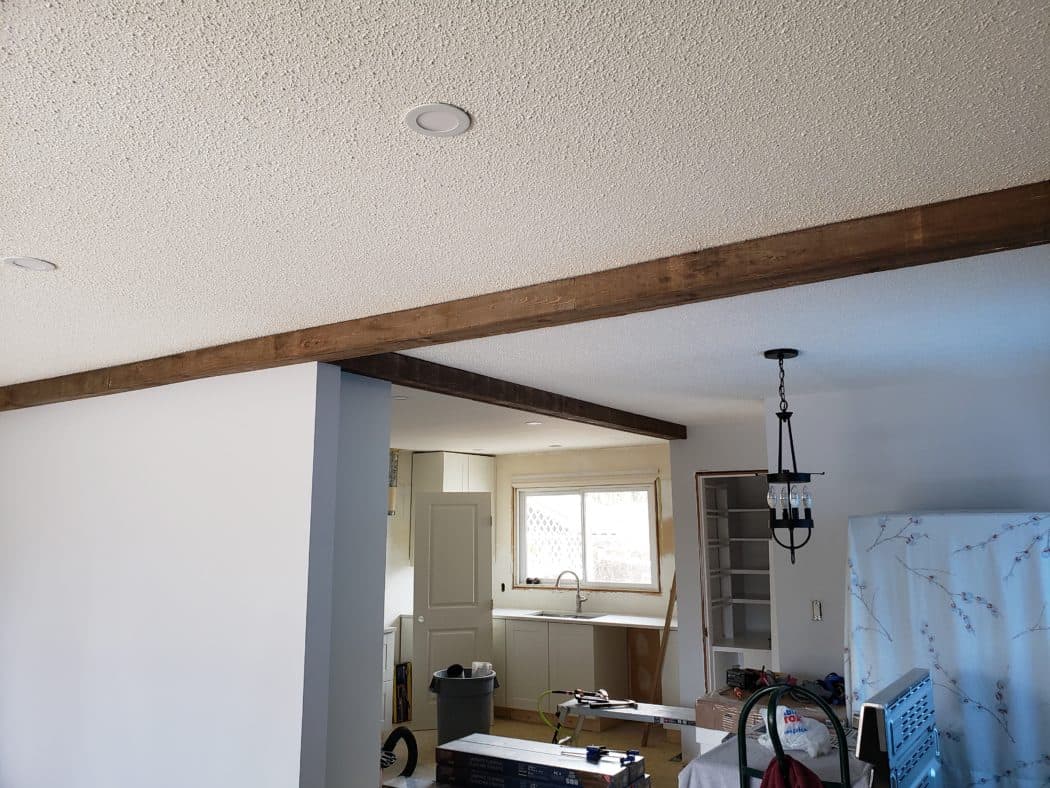
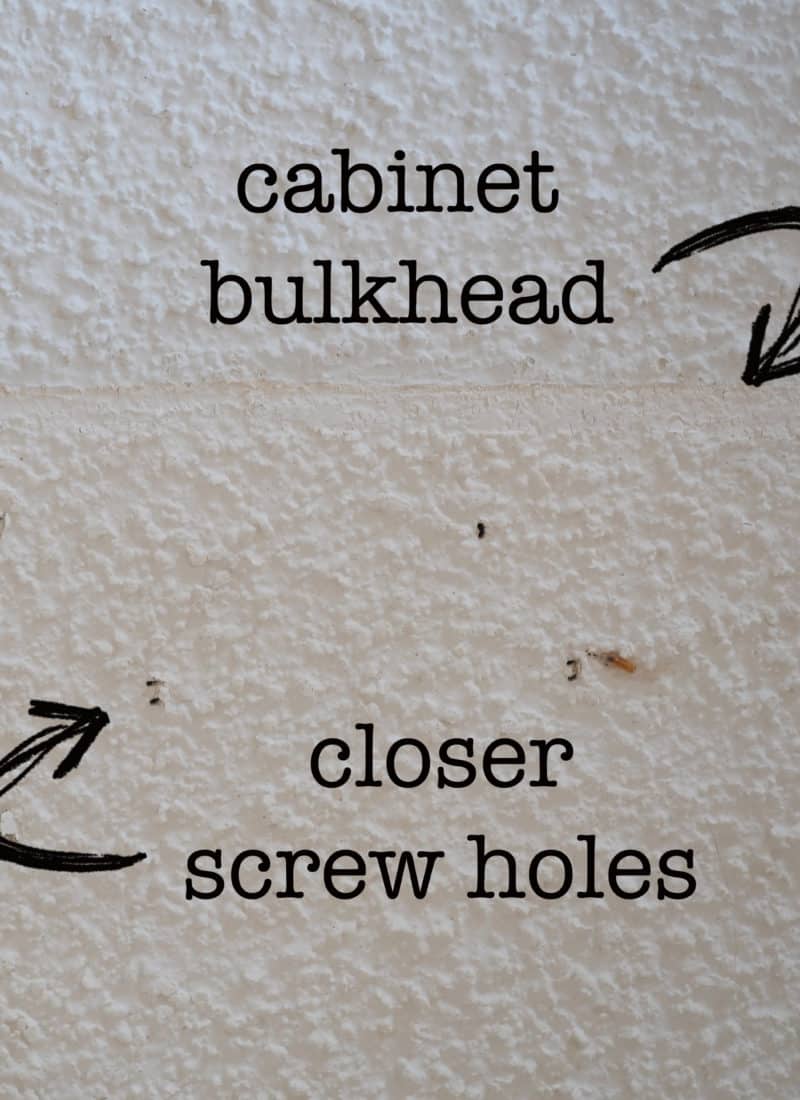
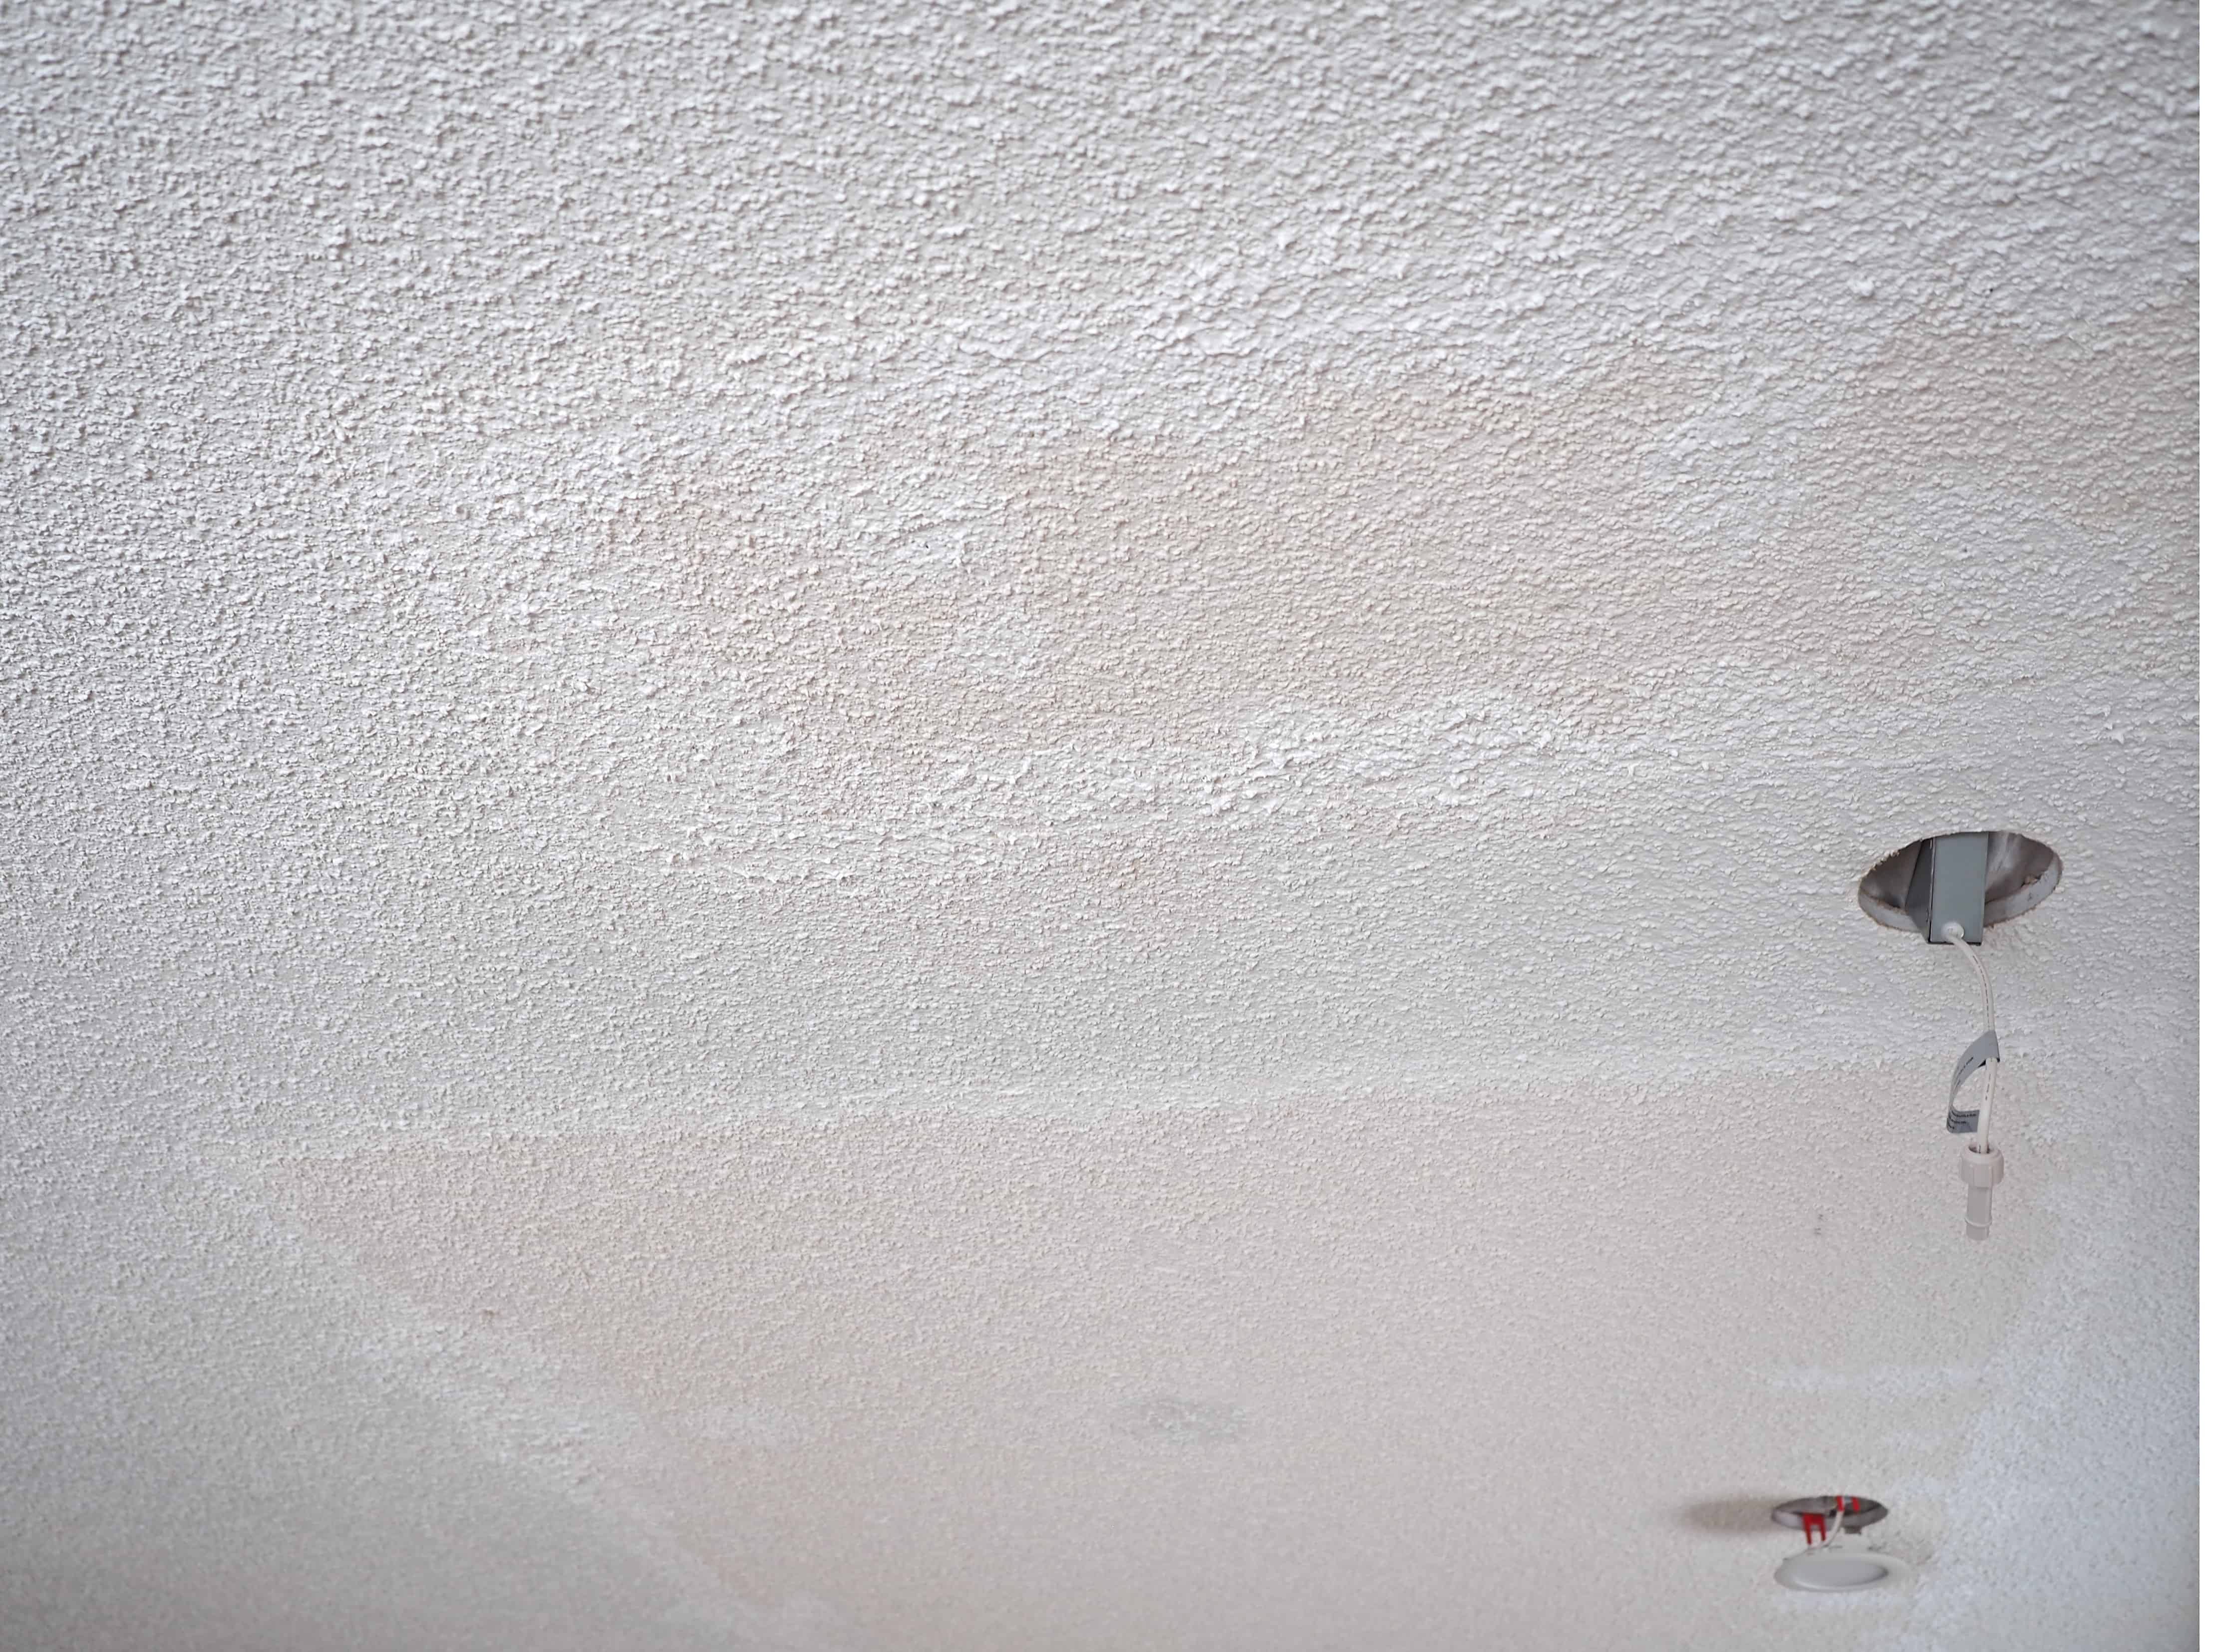
I have patched, taped, and mudded many drywall walls before, but I have never done a popcorn ceiling repair. If you remember any of the pitiful before photos of the kitchen (if not, don’t worry- check them out HERE), the cabinets had a bulkhead above them and there was an overhead 4′ x 6′ box of fluorescent lights. Removing these left us with dozens of screw and staple holes needing repair. In addition to this, we had to fill in 2 old junction box holes, and the ceiling where the wall used to be. To give you a better idea of the project I snapped a few photos of the areas that needed repair.


I originally called a few companies for quotes on the ceiling repair and all of them came back around $1500-2500 (this included painting). Not going to lie, this was one of the primary motivators behind choosing the DIY route. While we are being honest…mudding and sanding are one of my least favourite parts of renovating. Unfortunately they are a necessity, albeit a cruel one, in almost every project. Regardless, I was determined I could tackled this project myself. Now a quick spoiler alert, some parts turned out awesome, while other parts are still undergoing some fine tuning. I can now update this and tell you that a few years later everything looks great and we have not had any issues!
To start out, I filled the gap with drywall left from removing the wall. This left some space between the new drywall and original popcorn texture. Seeing as how this is quite similar to drywall repair for a wall, I decided to fill in these gaps with drywall compound before taping the seems with fiberglass mesh tape. I really prefer this mesh tape to the paper tape that becomes a nasty mess all over your hands when installing. And lets be honest, who really likes getting drywall compound everywhere. I’ll tell you, NO ONE. Once the first coat of compound in the cracks dried, I taped and applied another coat of compound to set the mesh tape. After this dried, I applied the first coat of texturing compound. There are tons of different options available, I settled on Lepage Polyfilla, which is a mix of drywall compound and ceiling paint.
This left me with something that looks like the picture below.
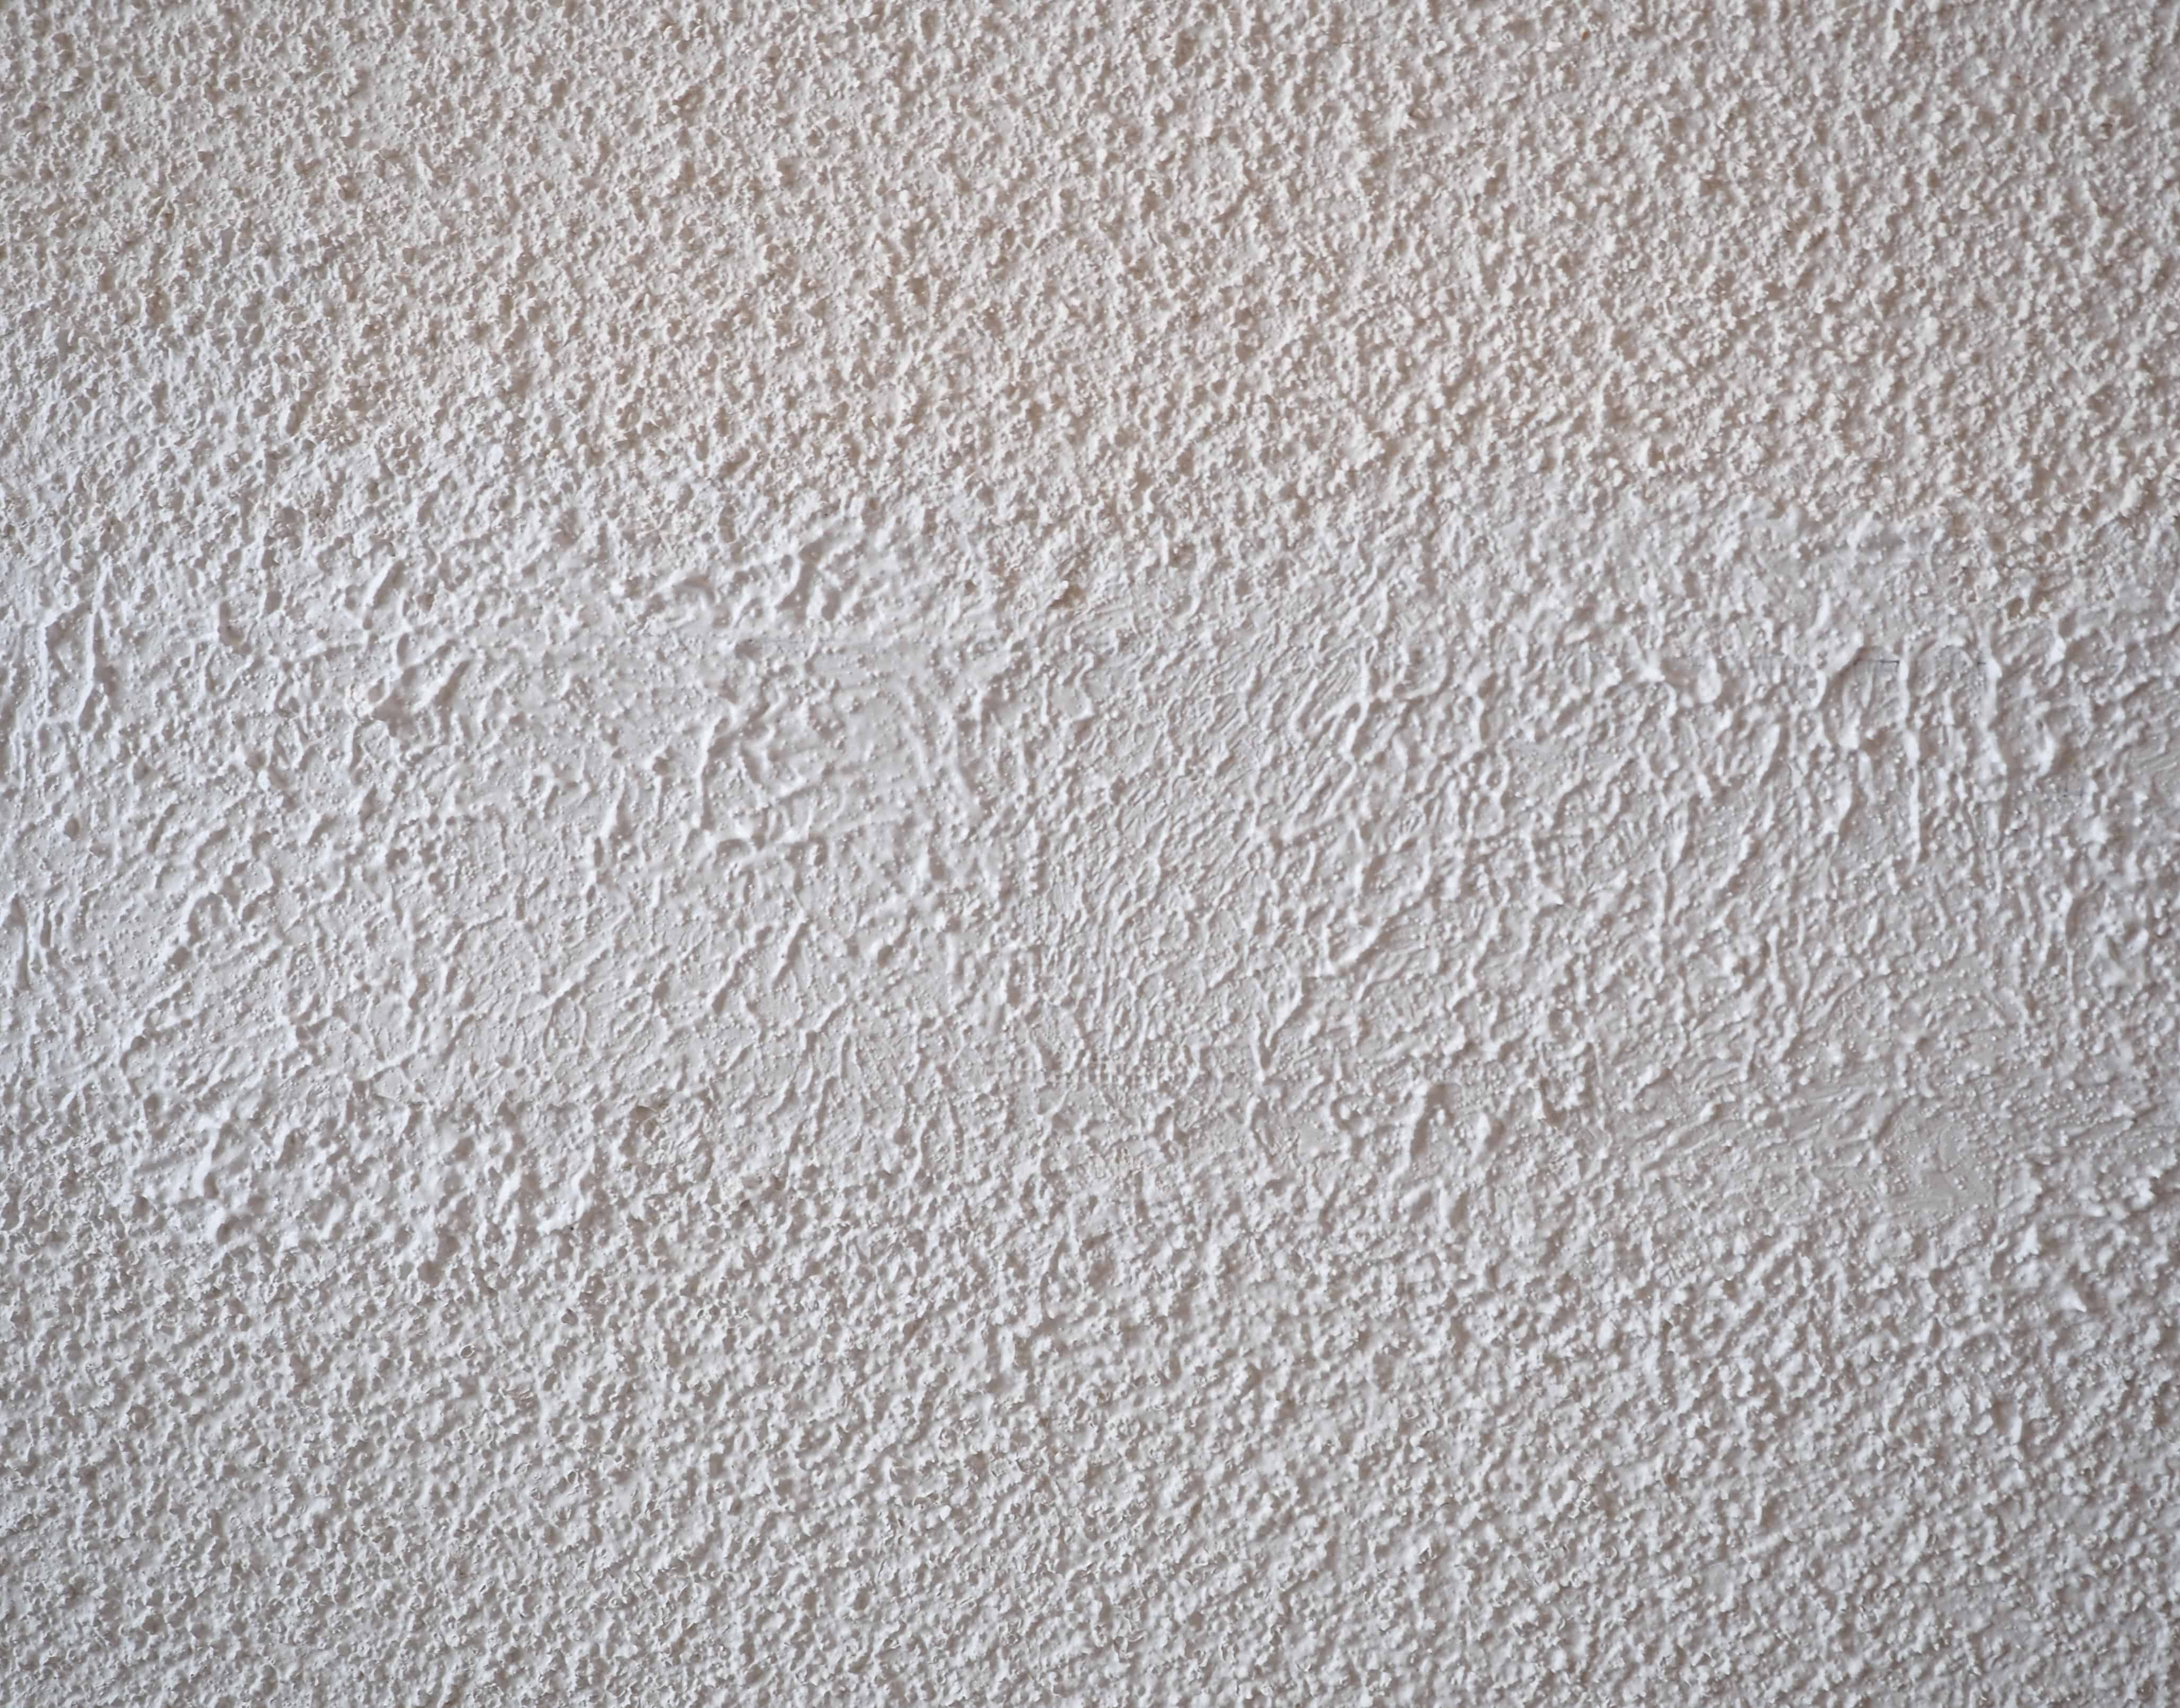
Not terrible, but you can clearly see the new versus the old.
The old bulkheads and kitchen light were a different story. A single coat of texturing worked really well to repair the screw holes and add texture to the flat areas. They looked something like this:
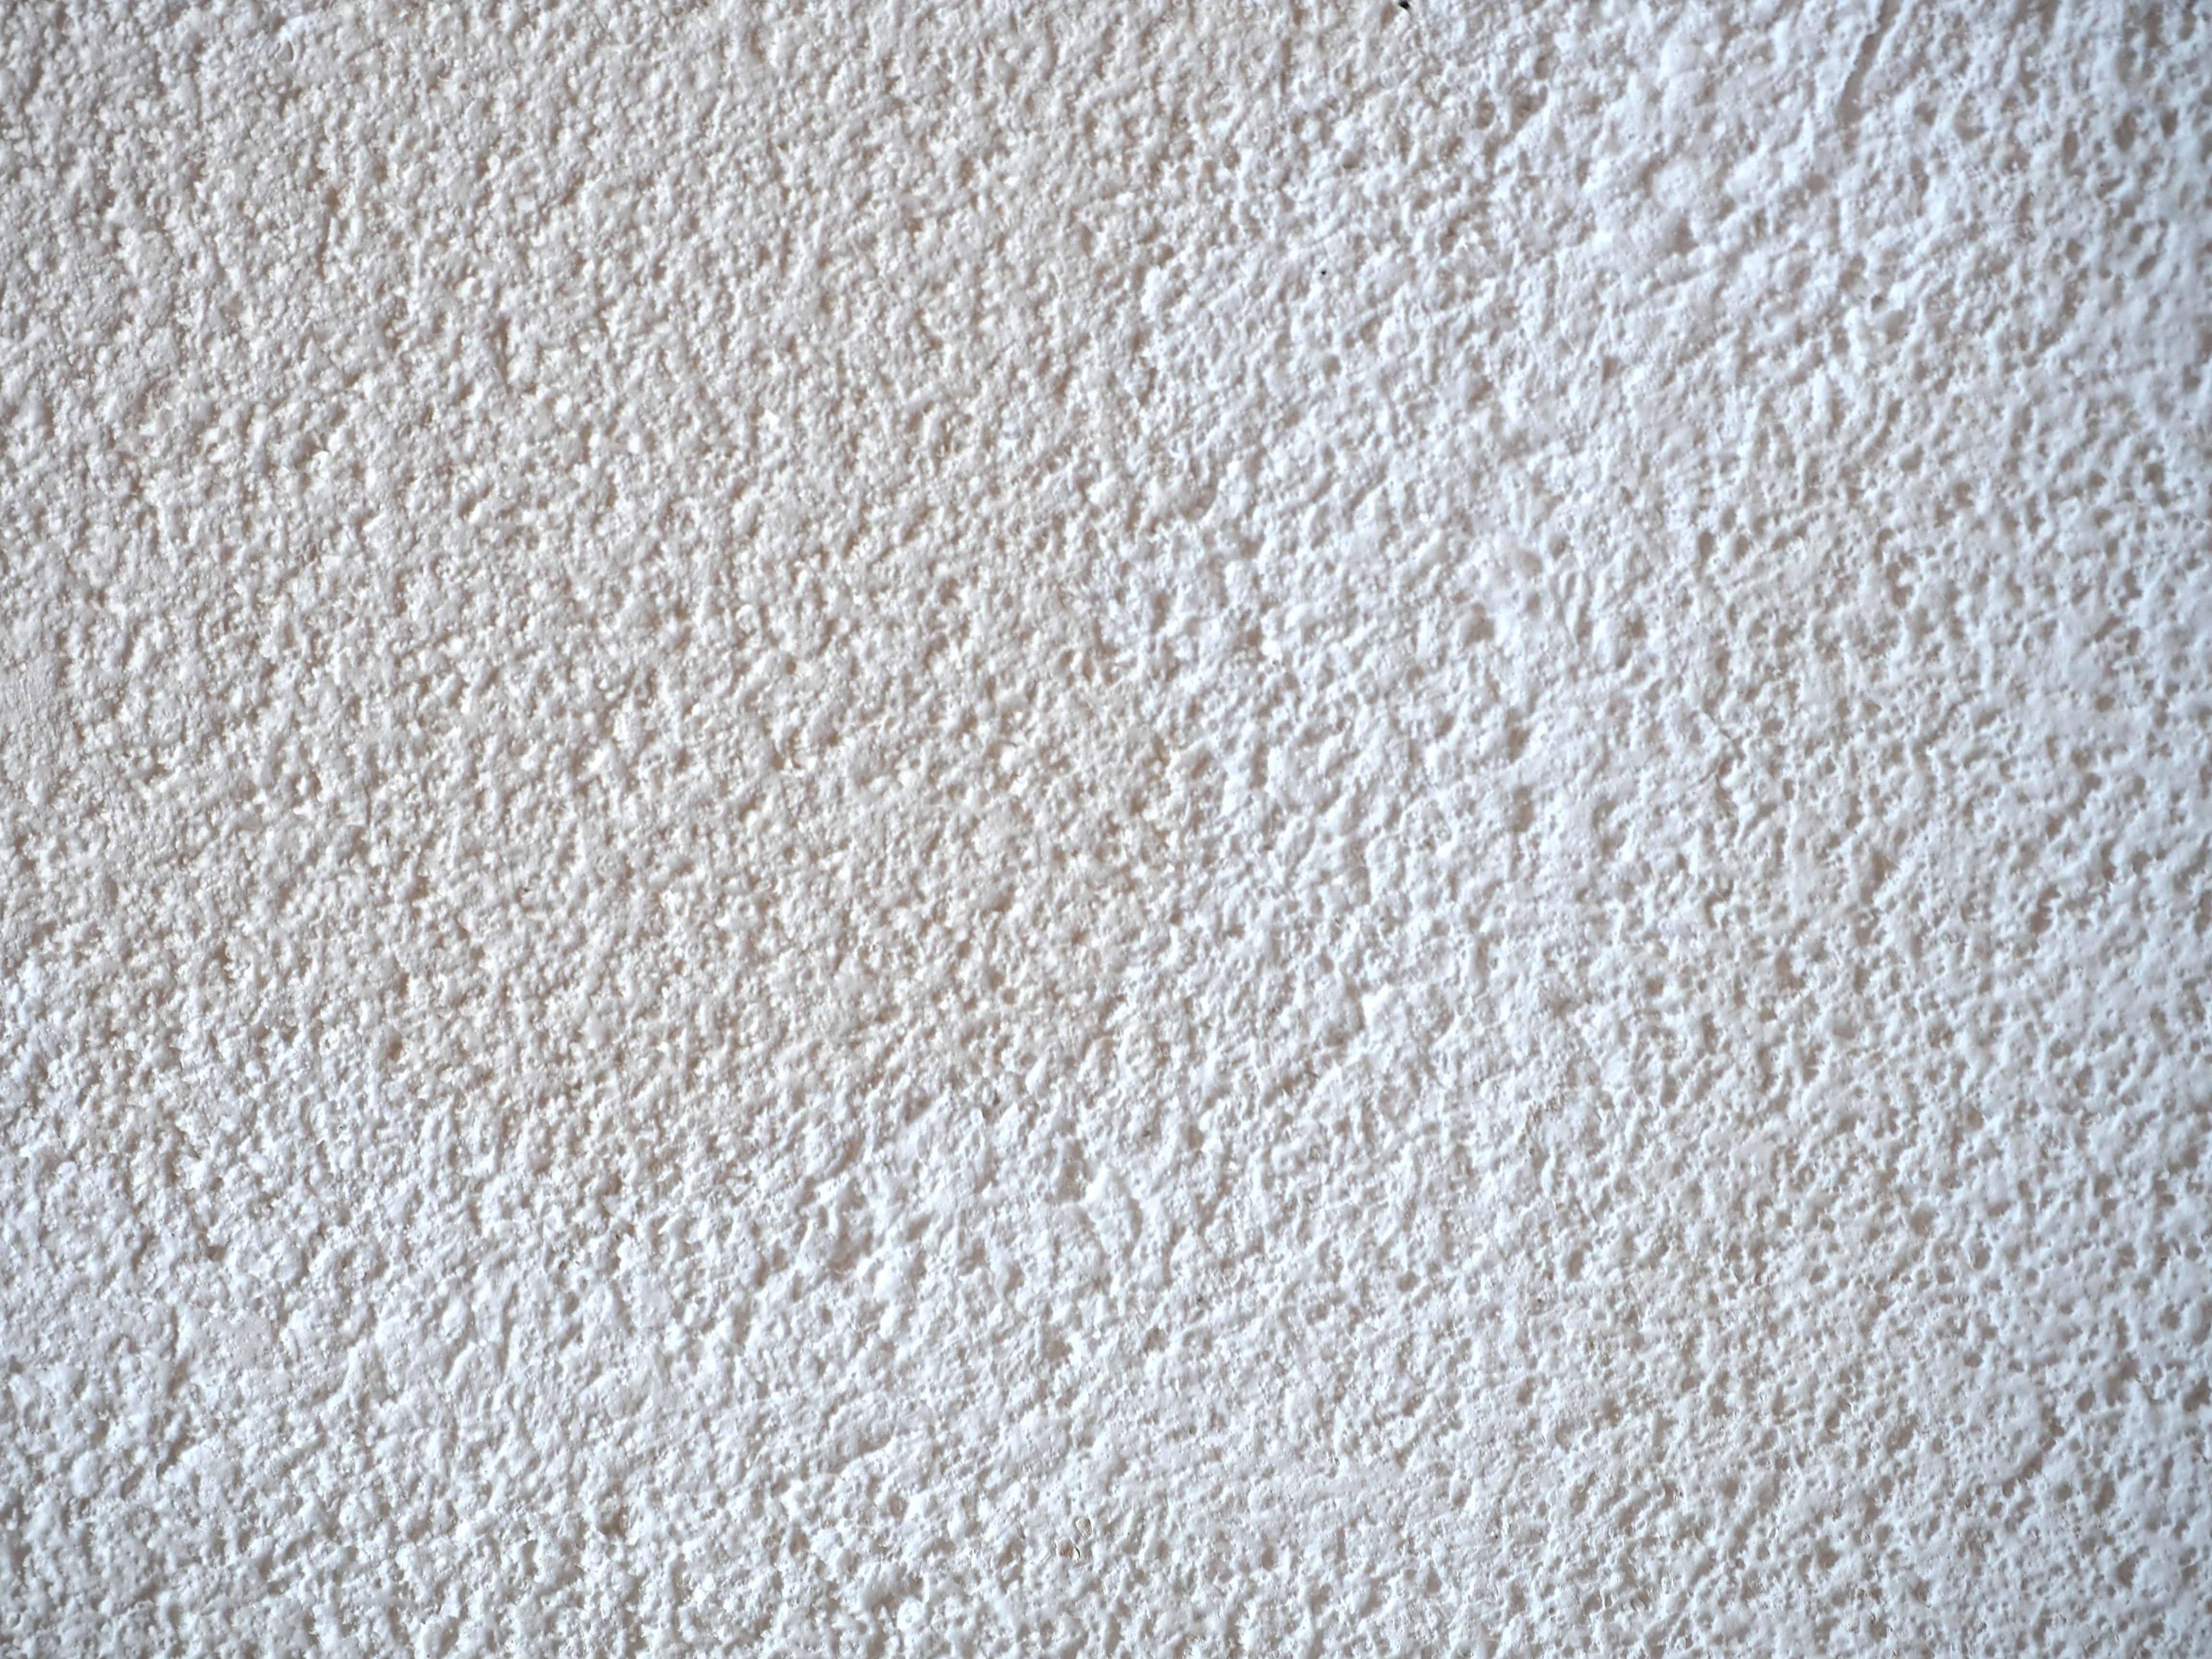
Now before you jump all over me about the repairs sticking out like a sore thumb, remember we still have to paint everything once the texturing is complete. This will alleviate any colour differences you can still see.
Take a couple minutes to watch the video where I talk about the tools I used and how I was able to achieve the textured look. This may not be the best way to go about repairing a textured ceiling, this is simply the method I used. I’d love to hear from any readers that have tackled this project and the methods they used!
It’s been a few years since we tackled this ceiling repair and we havn’t seen any issues pop up. But in those couple years I have had the chance to complete a few other similar repairs.
If you have to repair a larger area, I have found this aerosol spray version to work much much better. At Hilltop, we had a roughly 12 square foot area that needed to be sprayed to match the rest of the living and dining room. Instead of trying to sponge the entire area, the spray on version was much easier for consistency and evenness.
Can you spot the repair?

So there you have it, repairing a textured ceiling is far easier than you might think. Once again I can’t stress enough that a little patience goes a long way. It may not look perfect your first attempt, but I promise you will get better with some practice.
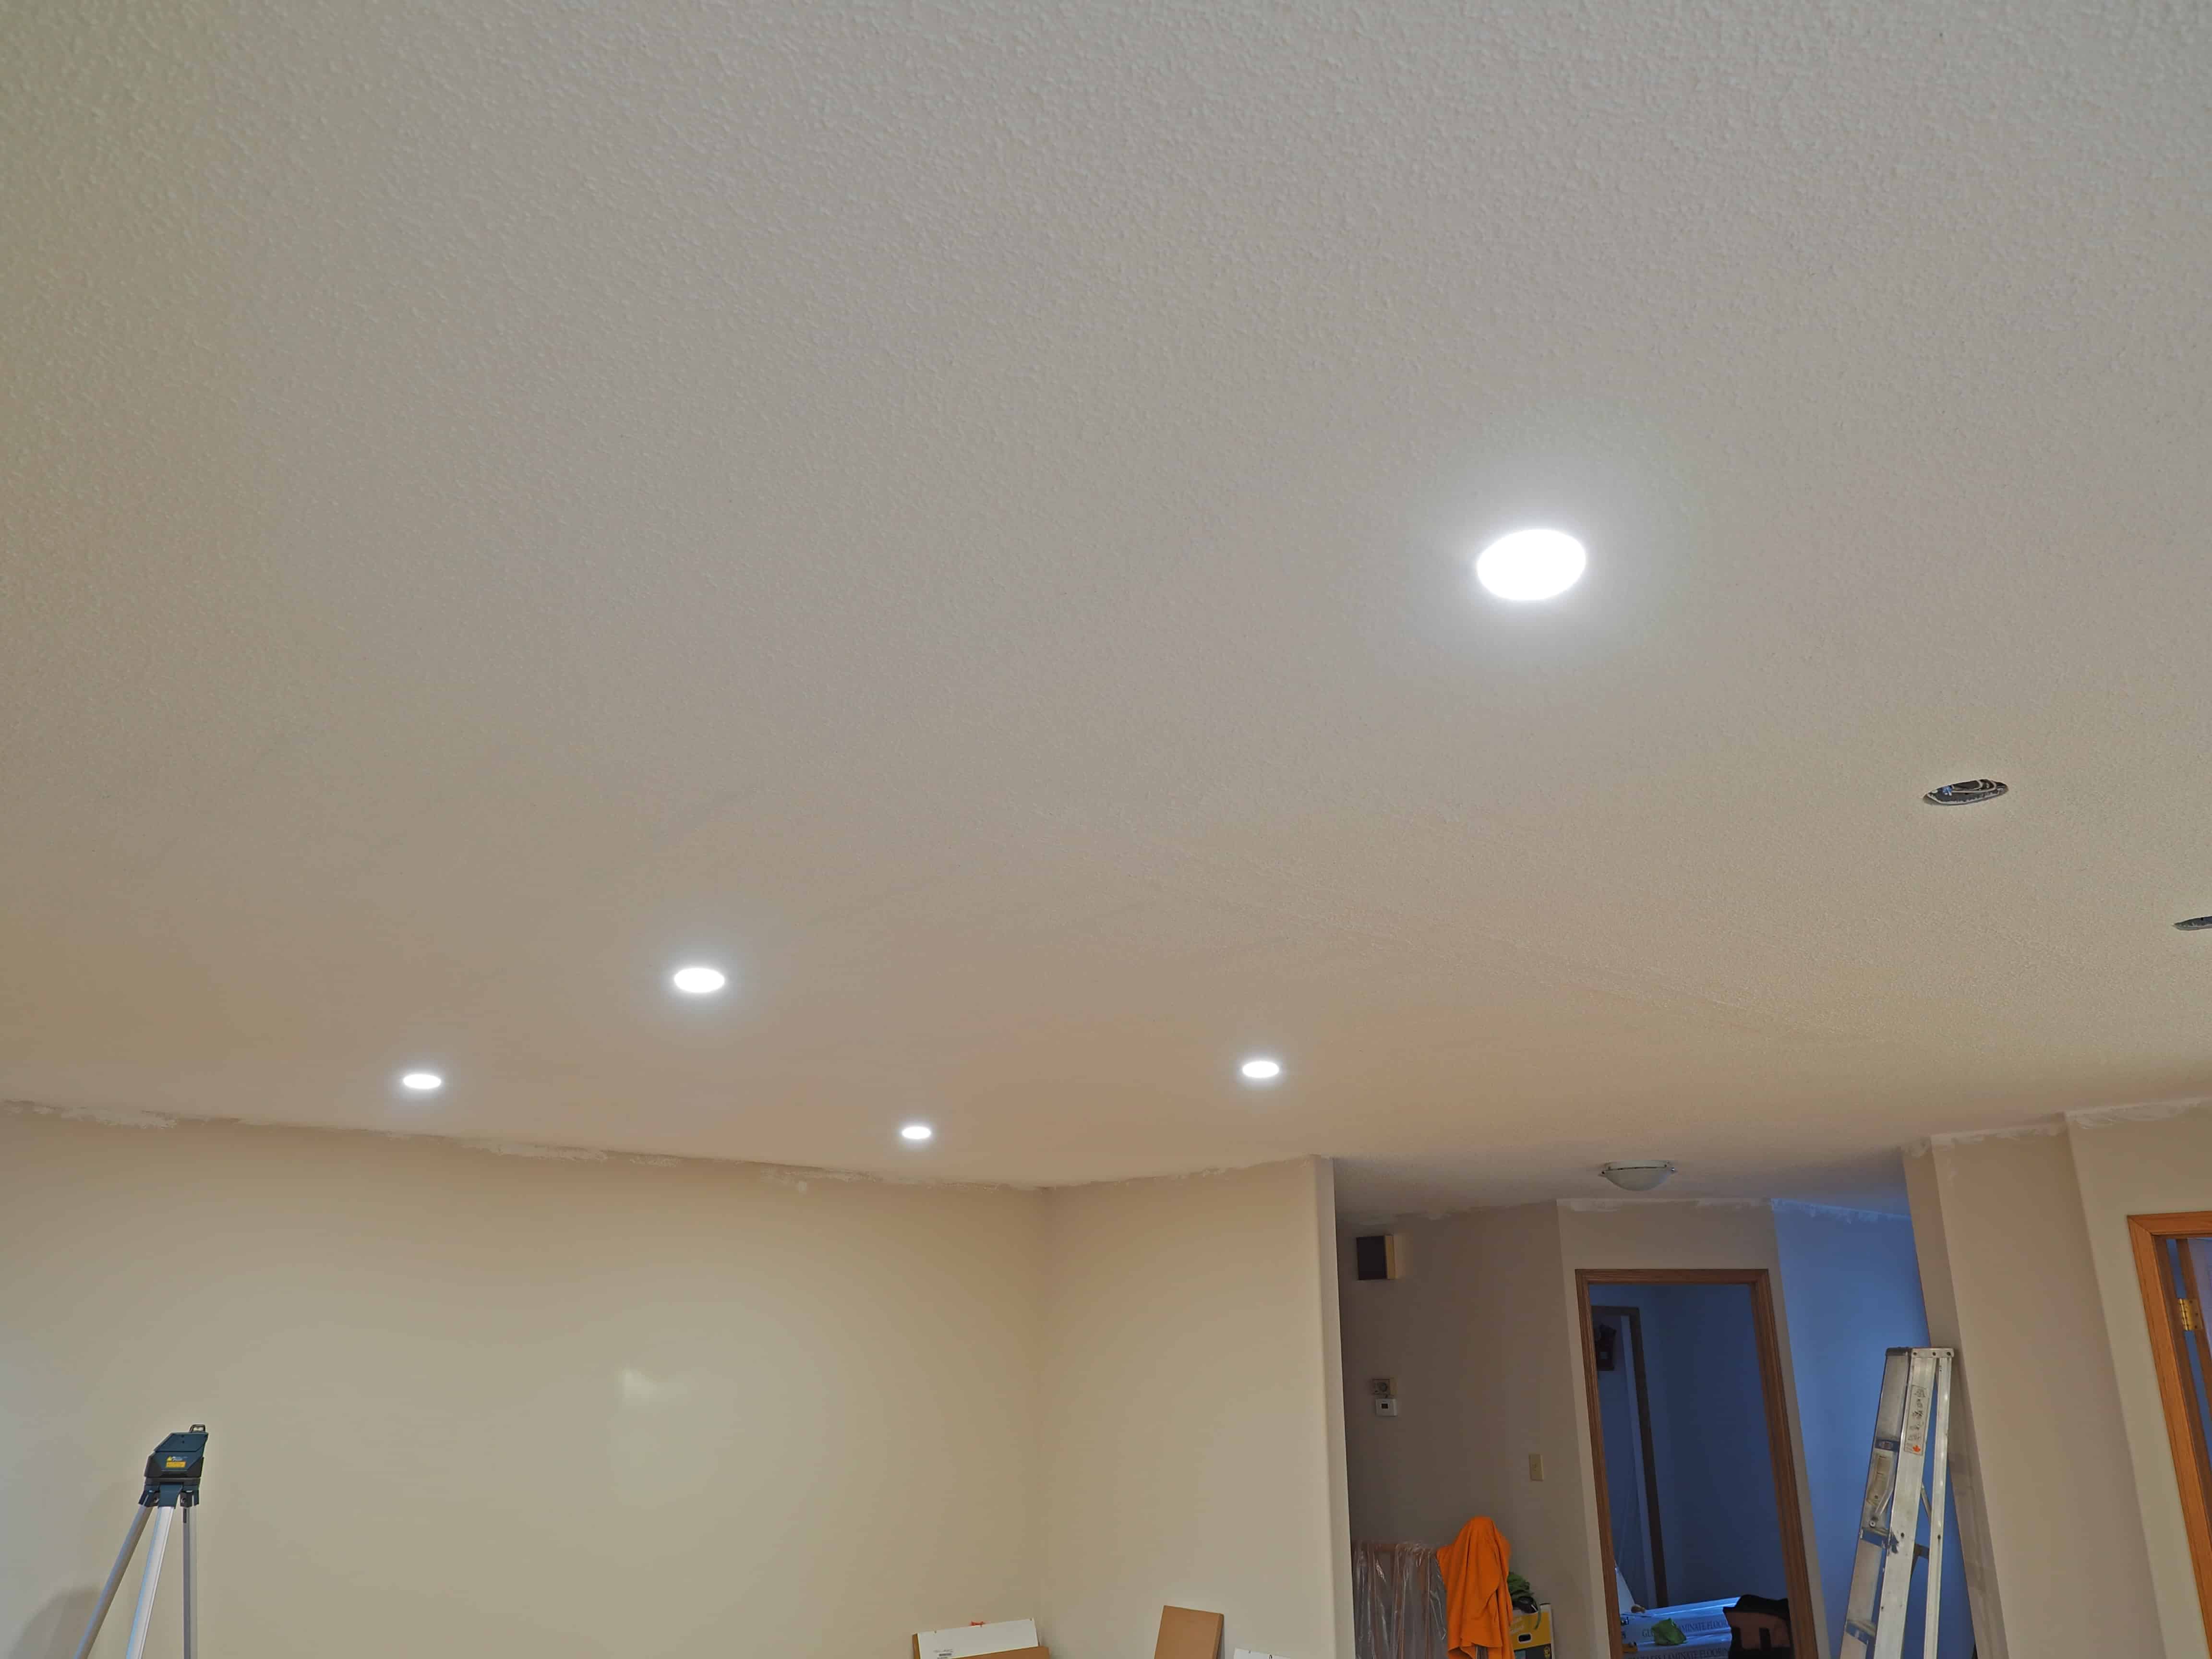
To wrap things up this is what the repairs looked like after all is said and done at The Beige Bungalow.
Please be sure to post your thoughts, comments, or suggestions below!
Remove the popcorn (as I’ve done in our mid 70’s home, fix the Sheetrock, buy the $65 texture gun at HD and spray it with light orange peel. You don’t want to be always looking at it and thinking how crappy it looks.
That’s also an option Thomas. I have to say though after multiple chances to practice, it is possible to get quite good at patching. Plus you do need to be cautious with older popcorn ceilings as many of them contained asbestos.
Your post about How to complete a popcorn ceiling repair is tremendous. I appreciate your effort for providing us unique information about ceiling repair. Keep us updated on more.