
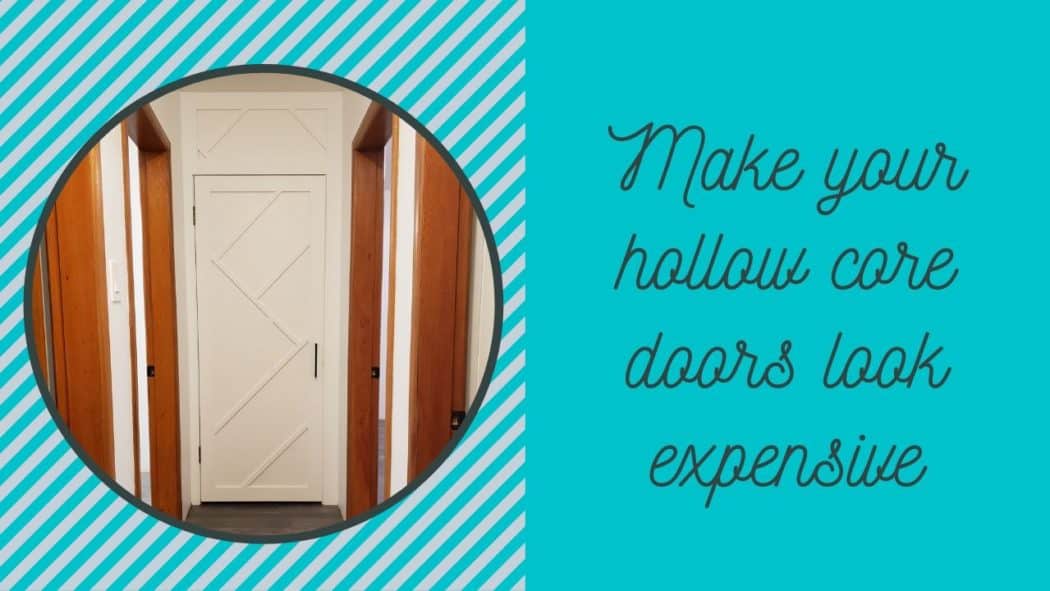
Many of us who have bought or renovated homes built from the 1950’s to the 1980’s know about flat panel hollow core doors. Truth be told, we still find them in homes built today. The conundrum comes when you want to update hollow core doors without necessarily having to replace them. Here is an easy way to make an old hollow core door look expensive.
If you weren’t already aware, we have a YouTube channel here at The Homestud. And on that channel, we just created a new segment called Five Minute Fridays. The goal is to complete DIY projects and home maintenance chores that can be tackled in a weekend!
Update the look of your hollow core door
In our first episode we create a DIY accent door by updating an old hollow core door at The Partridge House. Now this isn’t our first rodeo- we updated an old hollow core door at The Beige Bungalow a few years back. However, that was in a more traditional farmhouse style and was constrained to just the door itself. This time round our goals were slightly different and so was the design.
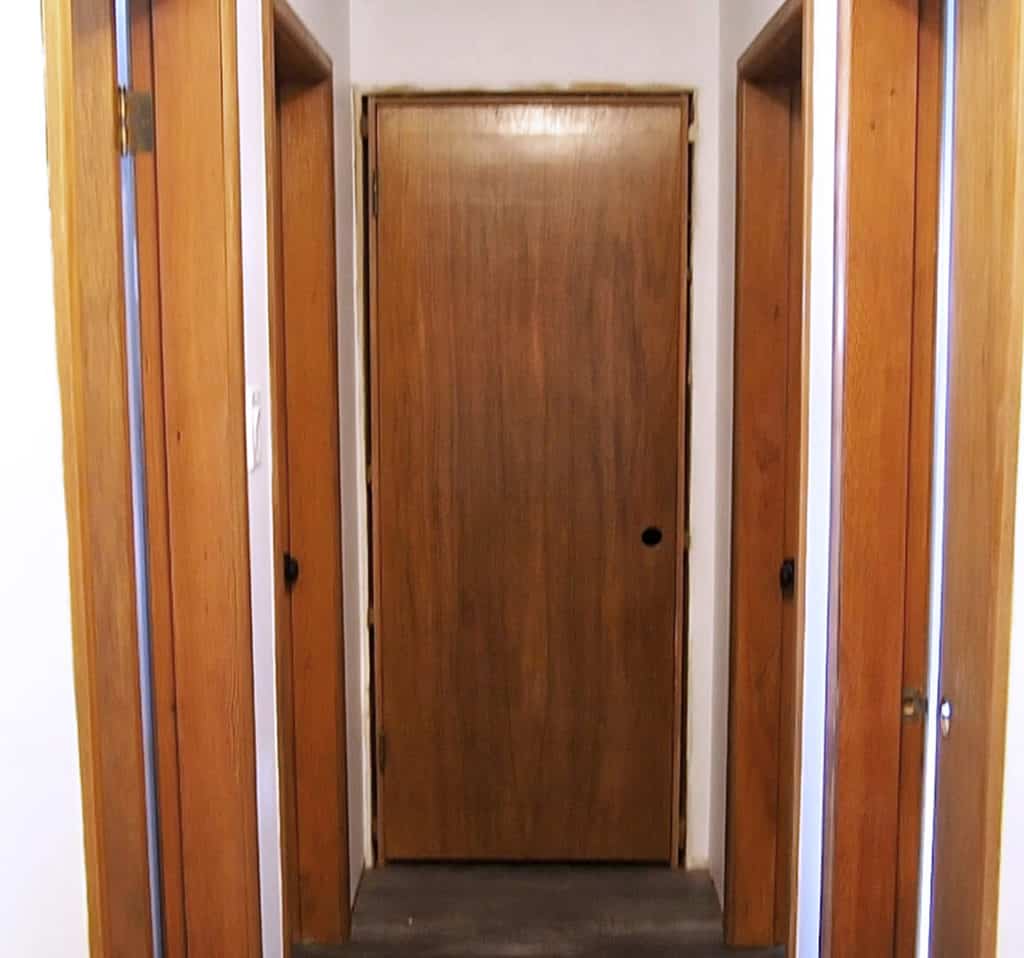
Our goal was to update the hollow core door from a dark hole at the end of the hallway into a funky accent door that blends in with the rest of the house.
You can see in the photo below that the dark mahogany door at the end of the hallway isn’t the most appealing.
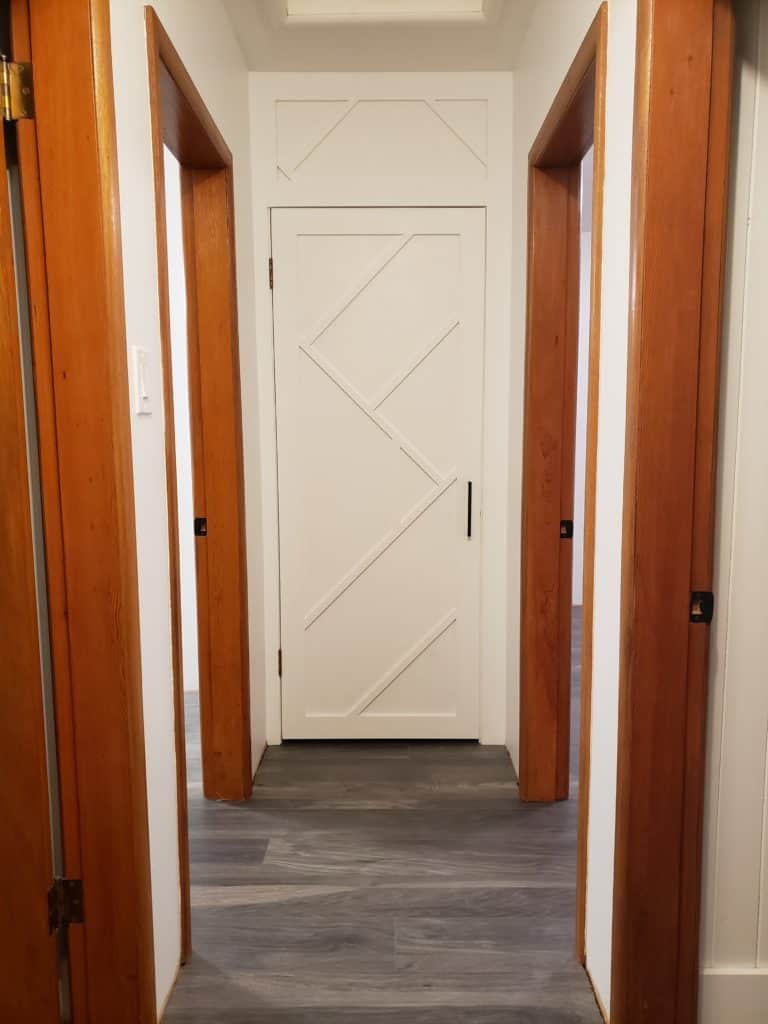
One of the major themes running throughout The Partridge house is geometric abstract lines. Therefore we took inspiration from the accent wall in the master bedroom and continued the abstract pattern on the hollow core door and surrounding wall.
Watch the build!
A quick recap
We could have easily just painted the door and surrounding trim white to match the hallway, but it would have just looked like a painted door. We wanted it to look less like a door and more like a large storage cabinet or closet tucked into the end of the hallway.
Materials needed for this project:
- Hollow core door …obviously
- MDF or similar material for the trimwork
- Cabinet pull. I used these awesome black modern pulls.
Alternatively, you could still go with a standard door knob/lever. However, keep in mind the added thickness from the trimwork.
Major tools I used to complete this project:
- Miter saw
- Table saw (I picked up my Ridgid used when my Dewalt went Kaput)
- Brad nailer
I’m quite happy with how the final look turned out. Let us know what you like, don’t like, or would have done differently in the comments below!
Wow, what a difference for the cost, you made it look easy, I’m thinking of giving it a go myself and I’ve got no experience with tools, especially the ones you mentioned you used but I’m keen to do my first DIY project in this old house I’ve got so thanks for the video, you made me want to give it a go. Let’s hopefully it goes as smoothly as yours did.
Cheers
Kylie
Looks good. With the new handle how does it stay closed?
There is an adjustable ball catch where the old latch sits.