
Raised garden beds are a fairly simple weekend project, allowing for easy garden maintenance, and a host of other benefits. This article will teach you everything you need to know about building a raised garden bed, and the advantages it provides.
What is a raised garden bed?
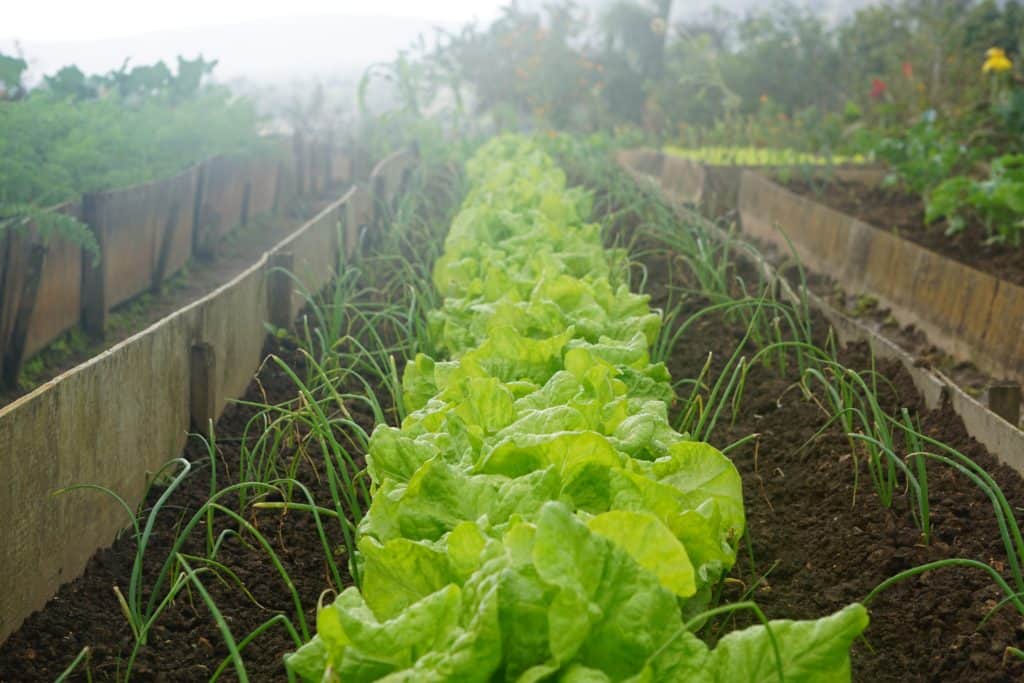
A raised garden bed is anything that lifts the level of the garden soil above that of the surrounding yard. It is most typically just a frame without a bottom or top.
Why should you build a raised garden bed?
There are many benefits to gardening in raised garden beds. Let’s dig into the reasons you should consider using them:
1. It’s easier on you. Raised garden beds allow your body to work in a far more comfortable position when tending to your plants. Generally (depending on the height of your bed) there is less bending over when beds are elevated above ground level.
2. No drainage problems. Because you have more control over the soil and the fact it sits above ground level means raised garden beds drain better.
3. You control your garden soil. As the gardener you control the amount of peat, loam, compost, sand, topsoil, etc in your bed. This is especially important in areas where the soil quality is poor, either due to consistency or lack of nutrients.
4. It’s better for your plants. The math is simple. If you have better soil and better drainage, naturally your plants will be happier and healthier. In addition, microbial diversity of the soil is improved, plant roots grow deeper, and productivity is increased.
5. They increase the length of your growing season. Since they are raised above ground level, the soil warms quicker in the spring. This is especially important in regions with heavy frosts or winter. Come fall, raised garden beds are easier to convert into cold frames, extending the outdoor growing season. Of course, incorporating indoor hydroponic gardens allows you to garden year round, regardless of your location.
6. You don’t need to worry about stepping on your plants. Raised garden beds eliminate the need for stepping among your plants. They provide you with access from multiple sides, making watering, weeding, and planting easier.
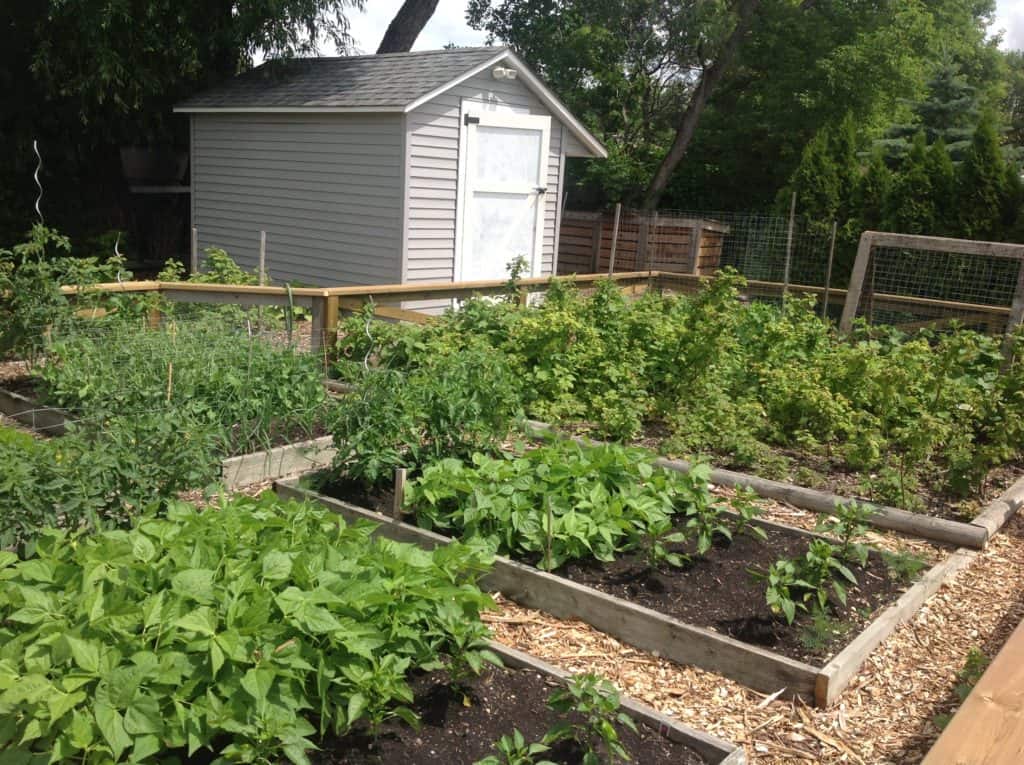
7. They let you plant more…plants. You don’t need to leave extra space between rows for walking access. Because you have walkways between your raised beds and can access your raised garden beds from several (if not all) sides, you can increase the density of your planting. This helps with square-foot gardening and companion planting.
What material should you use for your raised bed?
Wood
Let’s start with the most obvious choice- wood. Okay now that that’s out of the way- what kind of wood? In many ways this all comes down to your personal preference.
1. Pressure treated lumber. Pressure-treated wood has been chemically treated to prevent moisture and weather, as well as microbes from causing rot. Rest assured that we no longer use the pressure treated wood of the past (CCA) that was known to leach arsenic into the surrounding soil. Today’s pressure-treated wood (ACQ) still protects against biological degradation, but is also certified safe for organic farming.
2. Cedar. Cedar is a great choice as it contains natural compounds that prevent against rot and degradation. However, because cedar is most commonly found in climates with more precipitation, it can make for a poor choice in hot, dry climates. In addition, it is also quite a bit more expensive than pressure-treated lumber.
3. Fir or Spruce. I don’t generally suggest using fir or spruce because they are easily degraded when subjected to prolonged periods of moisture. That being said, I have seen them used in urban farms of hot and dry climates. Just be sure to use larger and thicker boards.
Using thicker boards will increase the longevity of your raised garden beds. Our raised garden beds are built from 4×4’s, and I have also built many beds out of 6×6’s or 2×8’s for clients. I almost always prefer these options to 1×6″ cedar planks. In addition to their hardiness, they maintain their shape for years even under the pressure of soil.
Metal
This might be one of the coolest trends in raised garden beds. You’ll even notice a few made my list of suggestions above. You want to select one made from galvanized steel to prevent rusting or splitting. However, steel is not without it’s downsides. Think about the heat. You know what its like to touch metal that’s been sitting in the sun all day. This is exactly what your plants will be sitting in. And it’s not necessarily that the heat is bad, it’s that your raised beds often dry out a lot faster when compared to other materials. Next is the cost. Corrugated steel panels are generally very expensive. Unless you can find the material used or free (which I would suggest), a 4′ by 8′ bed will cost around $150 depending on your location.
Concrete
Concrete is seen more often in planters, however on occasion cinder blocks are used to create raised garden beds. Be aware, there is more prep work when building with concrete. Concrete also has a tendency to raise the pH of soil over time, therefore you must be cognizant of this and amend the soil as necessary.
How to build a raised garden bed
Ever hear the saying, There are many ways to skin a cat? The same can be said about building garden beds. I discussed the different materials that can be used in construction above, but there is also a number of ways to use each material. For the sake of simplicity, I am going to show you one of my favorite ways to build raised beds out of wood using 4×4’s and lag screws.
Not only that, but for this project we included a twist. I am not using any of my regular tools, and instead, I bought every tool I would need at local garage sales. The goal- prove that you don’t need fancy tools to complete every project. In fact, for $9 bucks I was able to buy everything I needed.
Tools:
For those who don’t know what these tools are, I’ve included some links to Amazon so you know what you are looking for. For more information, check out the 25 tools I recommend all homeowners should own, as well as the best tools for the DIYer.
- Circular saw or miter saw (if you have one)
- Tape measure
- Speed square
- Drill
Materials:
- 4×4’s – For this project, I purchased six 8 footers
- 6″ lag screws or Timberlok screws
Step-by-step instructions for building a raised garden bed:
Before we go through the steps to build a raised garden bed from 4×4’s, watch our video to see the entire process.
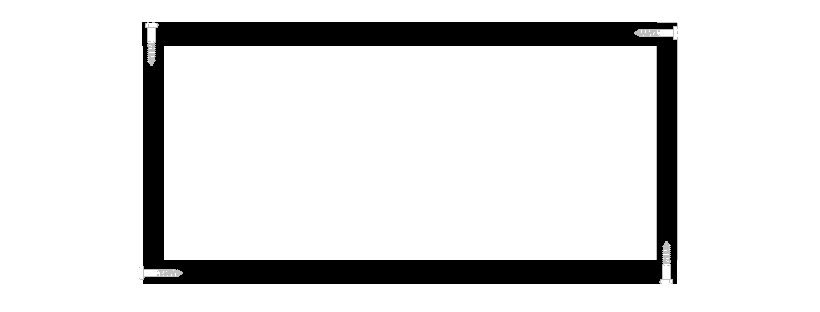
Mark and cut the 4×4’s to your desired length. Our raised garden bed is 8 feet x 40 inches. We cut four 4×4’s to 8 feet long, and four 36″ long pieces.
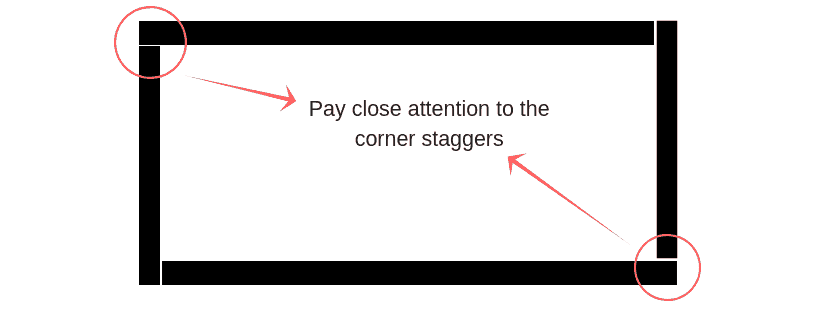
Layout the first layer of the raised garden bed in a staggered pattern. This is important when using several layers of 4×4’s (or 6×6’s) to increase structural stability and overall squareness.
Use the drill to drive lag screws in through the ends pulling the 4×4’s tight together.
Use a box level to level the garden bed. I find it easiest to keep some sand on hand to help level out the 4×4’s. Go ahead and skip this step if your ground is reasonably flat and you aren’t concerned with making your bed perfectly level.
Add the second layer of the raised garden bed starting with one of the eight foot 4×4’s. Be sure to overlap the joint of the previous layer.
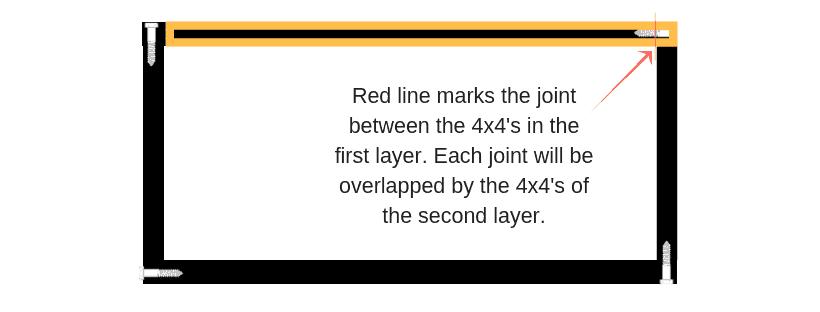
Continue adding the 4×4’s for the second layer, ensuring each joint in the first layer is overlapped.
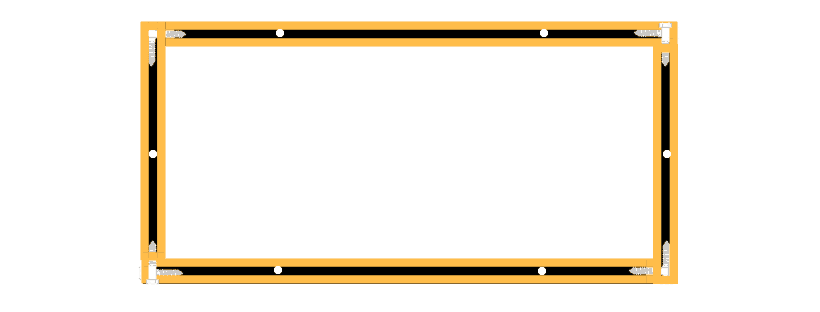
Drive lag screws through the ends of the the 4×4’s to pull them tight (same as step 3). In addition, drive lag screws down through the top 4×4, pulling the second layer tight to the first. Place 2 lag screws in the 8 foot sections, and 1 lag screw in the center of the 3 foot section.
What type of soil is best in a raised garden bed?
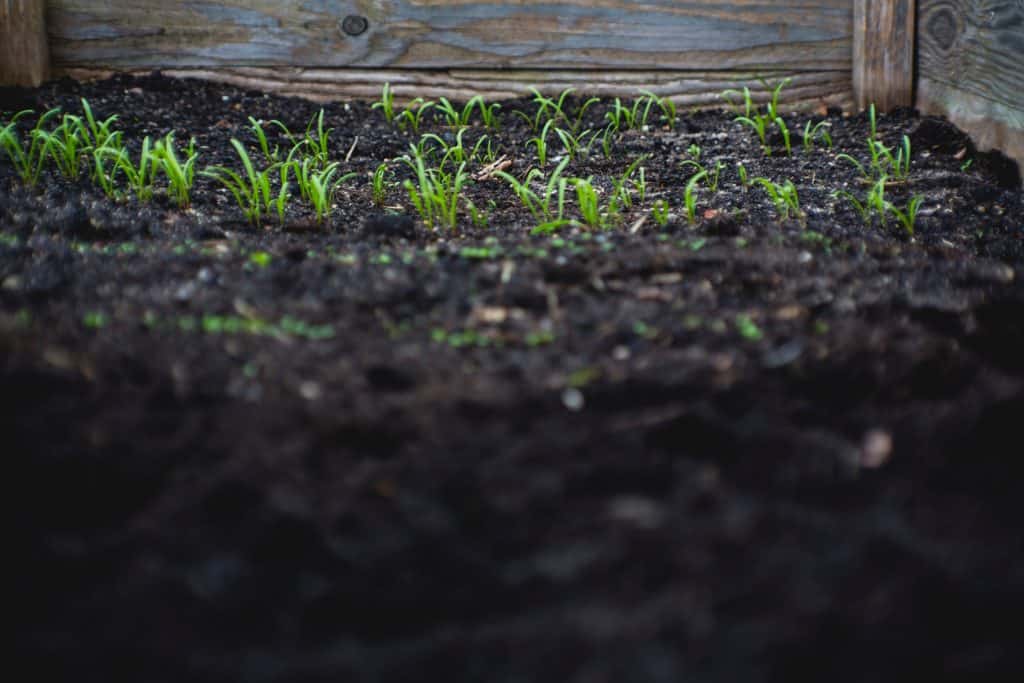
Now that you have completed the building portion, it is time to fill it with soil. Remember when I said you control your garden soil, this is the part I was referring too. Now you could just fill it with plain topsoil and your vegetables would probably grow, or you could fill it with a good garden soil full of nutrients and minerals that will increase the health and productivity of your plants.
You can either create your own garden mix, or buy it from a local landscape supplier. Depending on the size of your bed, and if you own a truck, it is often cheaper to purchase the garden mix in bulk. I also highly recommend against using potting mix- read here to learn more about the difference between soil and potting mix.
Look for a mix with roughly 50% screened topsoil, 25% compost, and 25% peat moss. This is a great starting point that allows for a good drainage to aeration ratio, while still being nutrient and mineral rich.
Depending on your location, you can also include other additives like bone meal, perlite, or lime. Bone meal increases the level of phosphorus in the soil, which can help balance out the high nitrogen content of compost. Perlite helps to loosen soil, increasing root development, drainage, and aeration. It also has a high water content, which can help retain moisture in raised beds for longer periods of time. Use lime to increase the pH of your garden soil. I do not recommend altering the pH of your soil unless you have done pH testing. The ideal pH range for most plants lies between 5.5 and 7, depending on growth stage.
Get planting…unless it’s autumn
The last step is to make a garden plan and start planting. Dive right in and start growing your own food in your new raised garden bed. And if it is autumn, you can always plant garlic!
You may also enjoy:
No Comments