
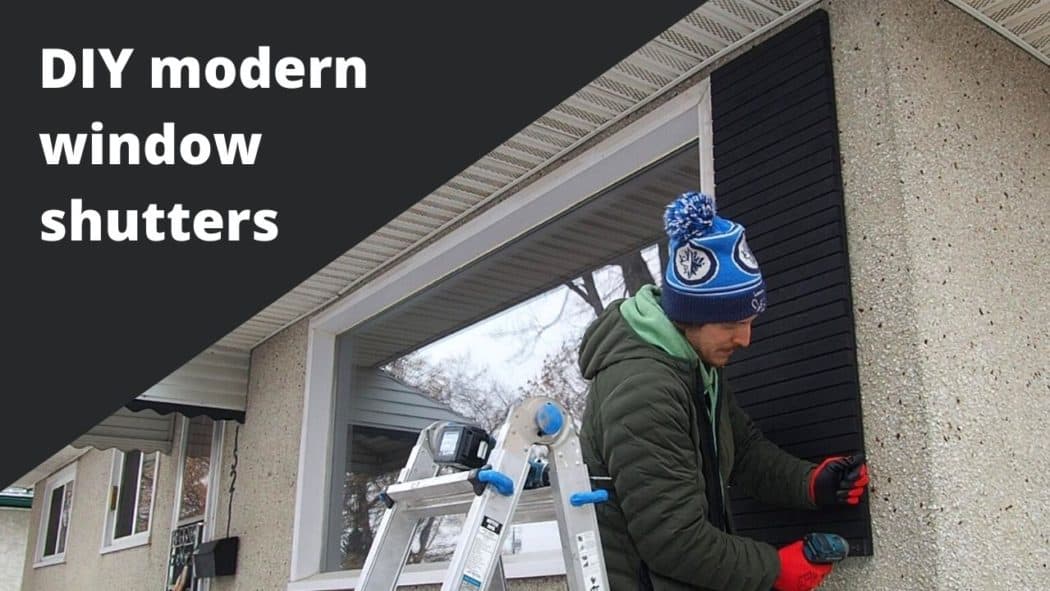
Window shutters are a great way to add that extra touch of curb appeal to your home. However, not all house styles lend themselves to the traditional farmhouse window shutter. This was the case at The Partridge House, so we created some easy DIY modern window shutters to suit the rest of the house design. They have a sleek modern design with clean lines.
Creating these modern house shutters was one of our Covid-19 projects, where we had to build with the materials on hand. In my case, it was boatloads of 1×2’s.
Window shutter materials:
The materials list for this project was pretty straight forward….1″ x 2″ boards. That’s it.
Tools list:
There isn’t much in the way of tools needed for this project either. I used my Dewalt miter saw and Bostitch brad nailer.
I love projects like these because they are easily completed in an afternoon or weekend, depending on the number of window shutters needed. In addition, they are a great DIY project if you are just starting out in woodworking.
Once again, we have you covered whether you want to watch the build or read a step-by-step version. Let’s start with the video:
Be sure to subscribe to our YouTube channel for all of our DIY projects.
Don’t stop with these window shutters though, check out all of the projects we completed at The Partridge House. We have everything from complete room transformations to accent walls!
Alright back to the regular programming: the step-by-step guide to building modern window shutters.
How to build modern window shutters
Step 1: Determine the size of your windows
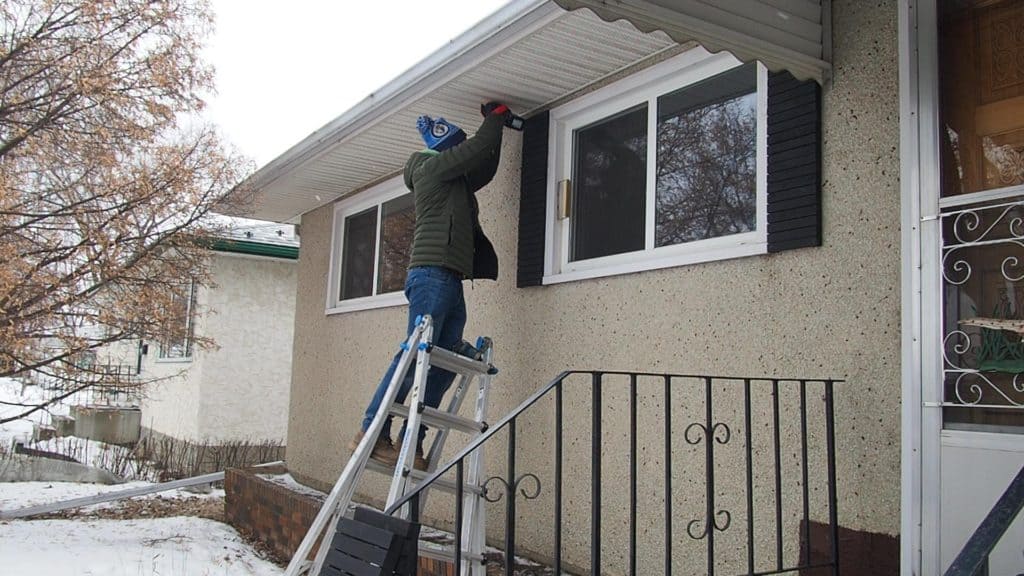
At The Partridge House, I wanted the shutters to line up perfectly with the top and the bottom of the window framing. Clean lines are essential in order to achieve the modern look.
It is also up to you how wide you want the window shutters to be. I made the exterior house shutters slightly narrower on the bedroom windows because it was more fitting with the design and the size of the window.
Step 2: Build the exterior frame for the window shutter
There is no need to mess around with different types of materials, everything was built from 1×2’s, including the exterior frame.
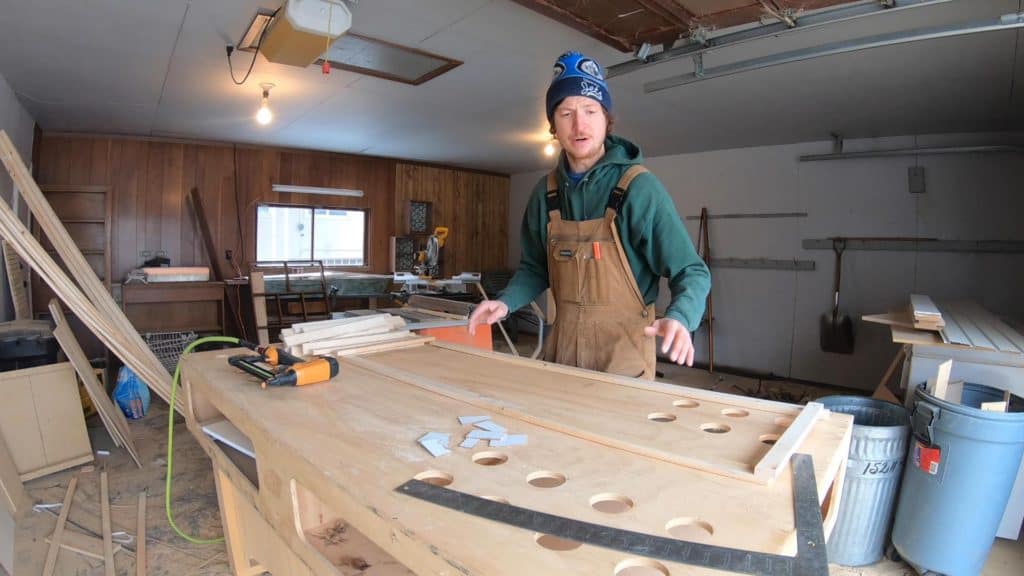
Cut two lengths of board to the finished height of the shutter. These will form the vertical rails, to which all the horizontal pieces will be fastened.
Step 3: Cut the horizontal pieces…soooo many of them
I found it easiest to create a stop (check out the video) on the miter saw to make the repeated cuts far easier and more accurate. This also let me cut more than one board at a time to speed up the process.
These pieces will determine the overall width of the window shutters.
Step 4: Assemble the modern window shutters
This is where a brad nailer really comes in handy. Pre-drilling and screwing all of those pieces together would have taken ages. However, a brad nailer makes the process lighting fast.
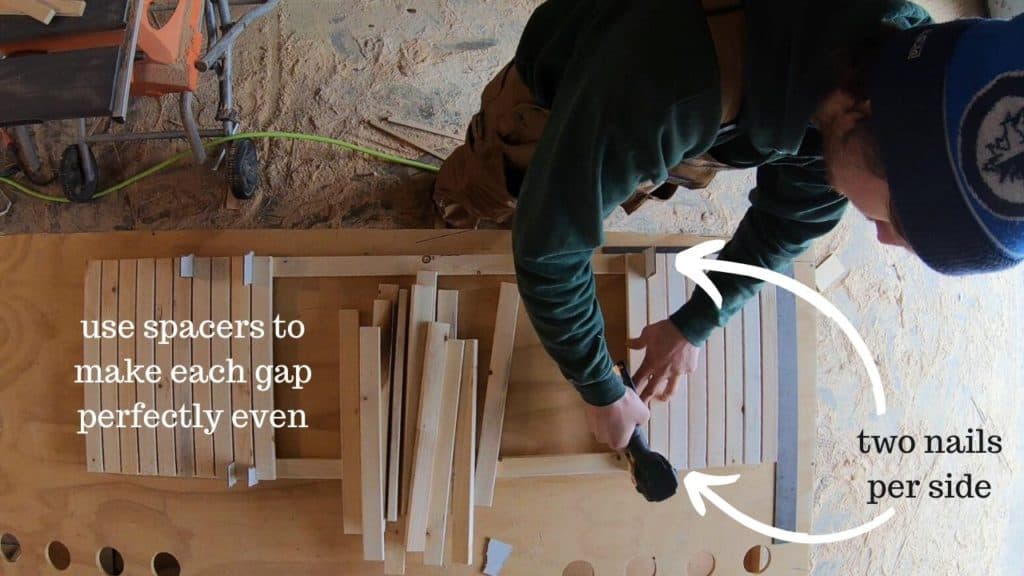
Tip: Add two nails through the horizontal cross pieces into each vertical rail. This will help stop the whole shutter from twisting out of square. In addition, use identical spacers to keep the gaps perfectly even from top to bottom as you assemble the horizontal pieces.
Step 5: Seal and hang
I chose to seal the modern shutters with an exterior matte black spray paint. This gave me the look I was after. However, these could easily be stained or sealed with a clear polyurethane for a more natural look.
How you hang the window shutters will also depend on the exterior material on your home. In my case, I had to pre-drill through the stucco exterior and attach them to the wooden cladding underneath.
Let us know about the window shutters you created in the comments below!
Other DIY projects you may want to tackle:
No Comments